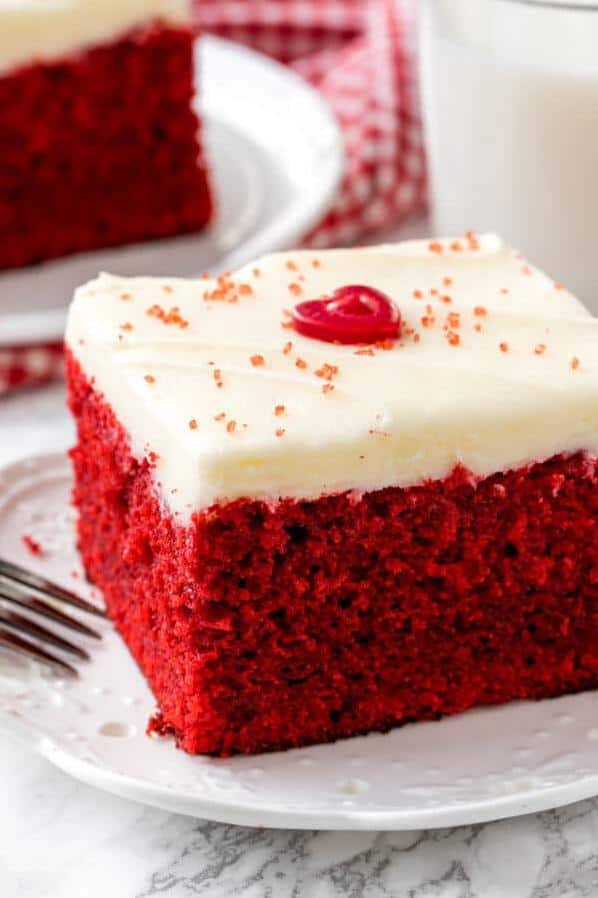
Indulge in Decadence: Perfect Red Velvet Cake Recipe
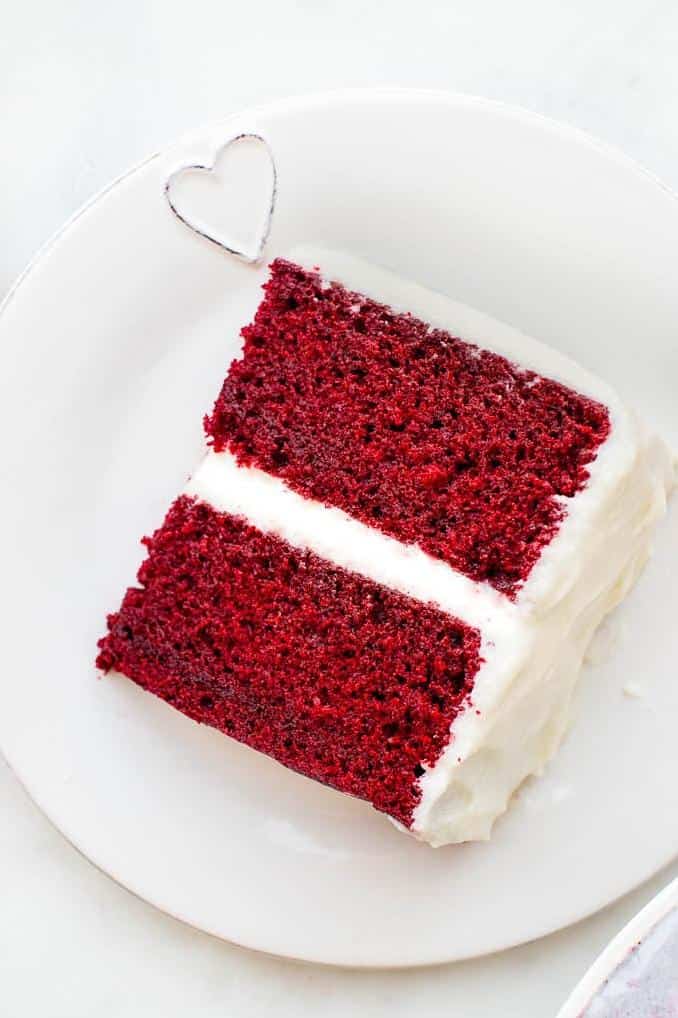
Are you looking for a show-stopping dessert that will impress all your guests, without spending hours in the kitchen? Look no further than this shortcut Red Velvet Cake recipe. This cake is rich, moist, and has just the right amount of cocoa to complement the bright red hue. And the best part? This recipe takes advantage of a cake mix, so you can whip it up quickly and easily.
Red Velvet Cake is a classic Southern dessert that has become popular all over the world. The origins of this cake are uncertain, but one theory is that it originated in the Victorian era, when vinegar was used as a natural leavening agent. The acid in the vinegar reacts with baking soda to create bubbles, which helps to make the cake light and fluffy.
Traditionally, Red Velvet Cake is made with cake flour, which has less gluten than all-purpose flour and helps to give the cake its tender crumb. But this recipe uses a cake mix as a shortcut, so you don’t need to worry about sourcing specialty flours.
In addition to the mix, this recipe includes simple ingredients such as eggs, water, vegetable oil, cocoa powder, and red food coloring. With just a few pantry staples and minimal prep time, you’ll be well on your way to enjoying a delicious and impressive dessert. So let’s get baking!
Why You’ll Love This Recipe
Red Velvet Cake lovers, you are about to be in for a real treat! This Shortcut Red Velvet Cake recipe is going to save you time and stress while still delivering the rich, luscious taste that you crave.
Firstly, let’s take a moment to appreciate the ease of this recipe. With just a few simple ingredients – including a box of cake mix – you can whip up an impressive cake that will have everyone wondering how you did it. Not only is it easy to create, but it also saves you from having to make a mess with measuring out ingredients, which can be especially helpful for beginner bakers.
But the convenience doesn’t come at the cost of flavor. One of the best things about this Shortcut Red Velvet Cake recipe is how moist and delicious it stays, even after several days. The addition of buttermilk ensures that your cake is tender and fluffy while the cocoa powder adds a subtle chocolate flavor that pairs perfectly with the sweetness of the cake.
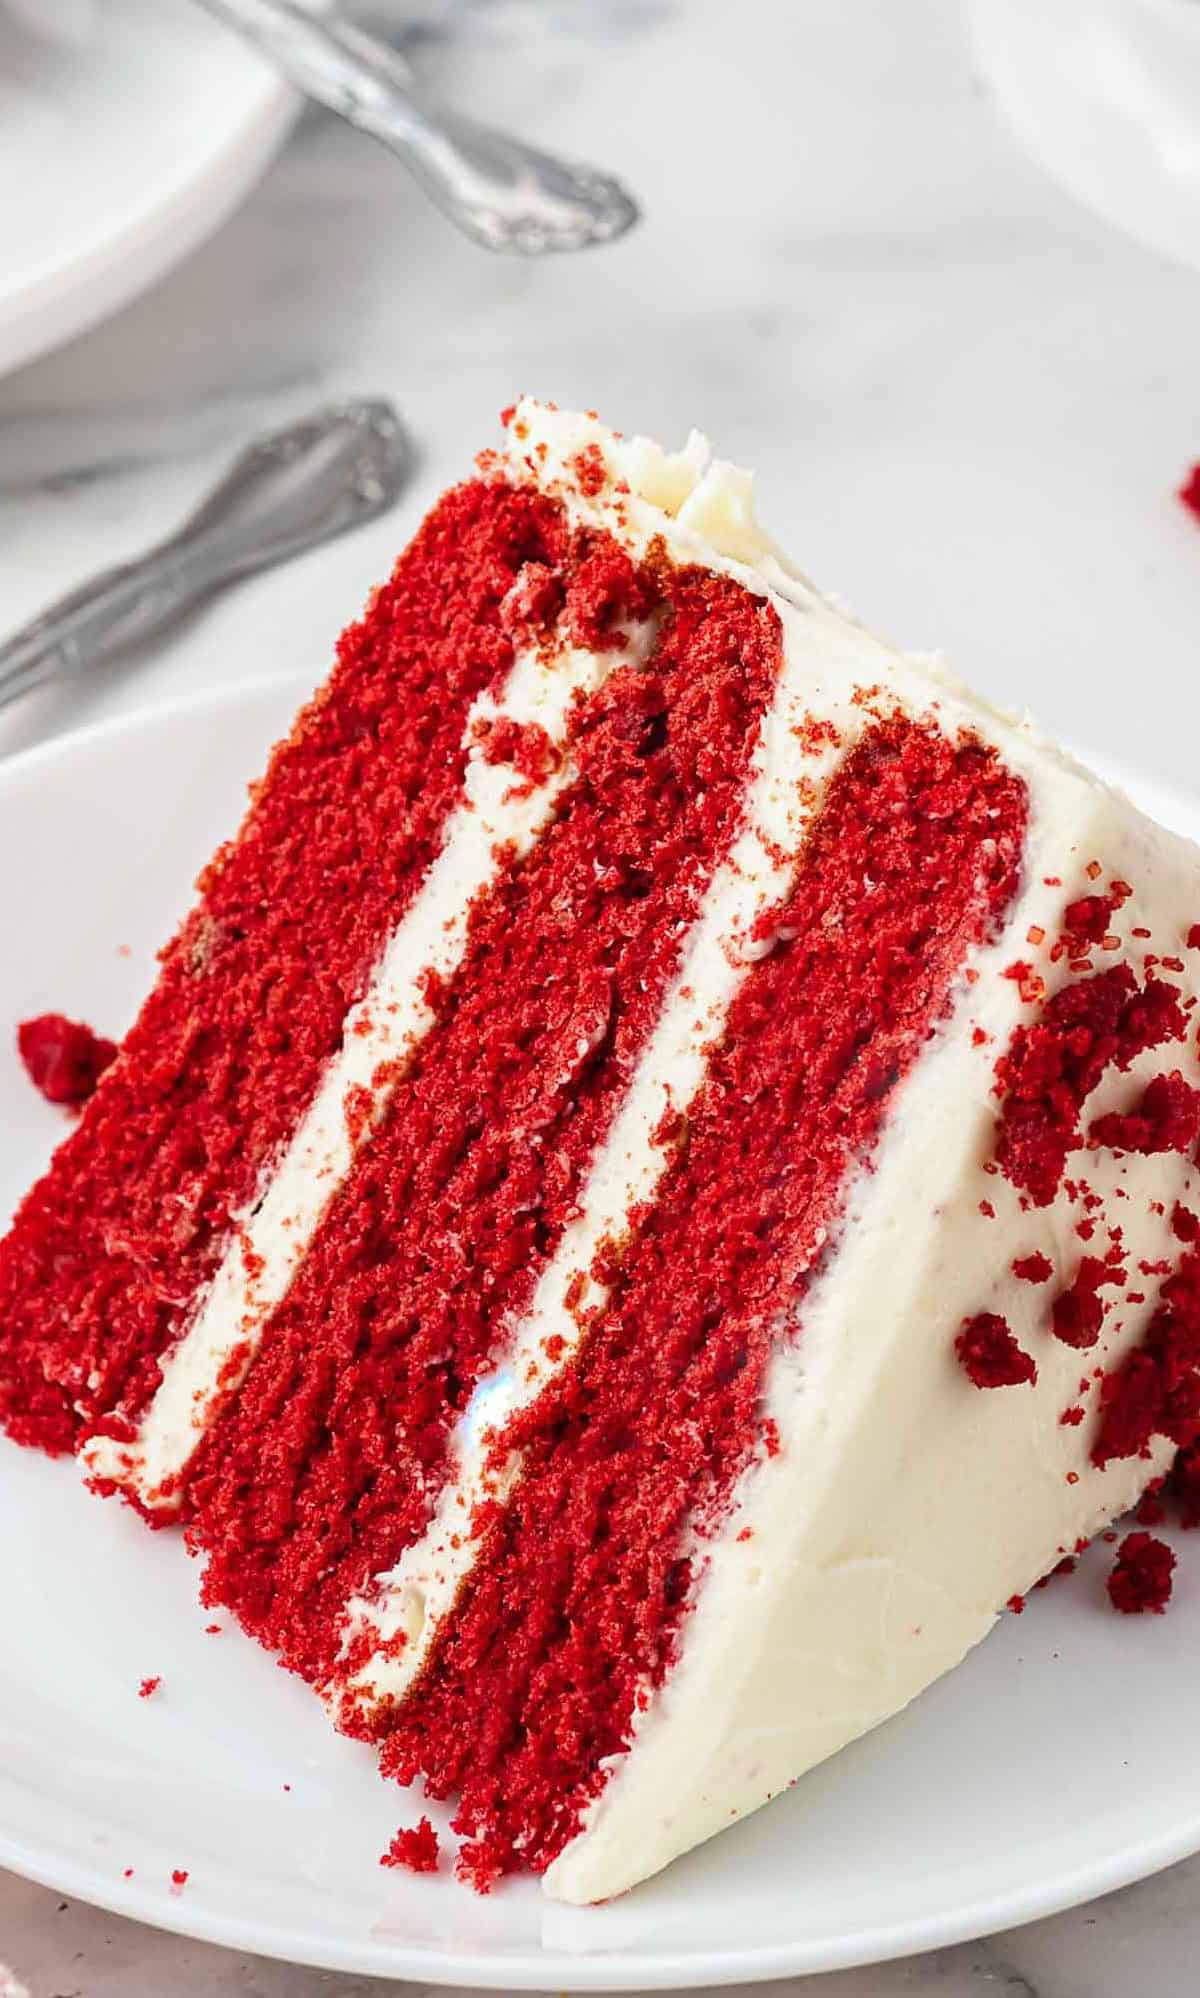
Plus, if you’re looking for a cake that can easily serve a crowd or make an impression on a special event, this recipe has got you covered. It comes together quickly yet yields beautiful results, sure to impress any guest or family member.
So why limit yourself to traditional Vanilla or Chocolate cakes? Break out of your baking routine and give this Easy Red Velvet Cake recipe a try – You’ll be amazed just how delicious and uncomplicated it can be!
Ingredient List
Here’s what you’ll need to make this Easy Red Velvet Cake recipe:
Dry Ingredients:
- 1 box of chocolate cake mix
- 1 cup all-purpose flour
- 2 cups granulated sugar
- 2 tablespoons cocoa powder
- 1 teaspoon baking powder
- 1 teaspoon baking soda
Wet Ingredients:
- 3 eggs
- 1/2 cup vegetable oil
- 1 cup buttermilk
- 2 tablespoons red food coloring (use more or less depending on how red you want it)
Pro Tip: For the best red velvet cake, opt for the quick red velvet option in the grocery store, find it next to the regular cake mix. This will intensify the flavor and color of your cake.
Additionally, using buttermilk brings out a tangy, slightly acidic flavor that perfectly complements the sweetness of the cake. By incorporating fresh ingredients like eggs and vegetable oil, every bite will be moist and fluffy.
The Recipe How-To
Step-by-Step Instructions
Here is how to make this quick red velvet cake recipe:
Step 1: Preheat Your Oven
Preheat your oven to 350 F.
Step 2: Combine Your Ingredients
In a large mixing bowl, combine 1 box of chocolate cake mix, 1 cup of cake flour, and 2 tablespoons of unsweetened cocoa powder.
Step 3: Add Your Wet Ingredients
Add 1 and 1/2 cups of vegetable oil, 1 cup of buttermilk, and 3 eggs to the dry ingredient mixture. Beat them together using an electric mixer until they are well combined.
Step 4: Mix In The Food Coloring And Cocoa Powder
Add 2 tablespoons of red food coloring and 2 tablespoons of cocoa powder to the batter. Beat these ingredients in the mixture until the batter is smooth and turns a vibrant shade of red.
Step 5: Bake Your Cake
Pour your batter into a greased and floured 9 x 13 inch cake pan. Bake it for about 25-30 minutes, or until a toothpick inserted in the center comes out clean.
Step 6: Allow Your Cake To Cool
Once the cake is fully baked, let it cool in the pan for about 10 minutes before you carefully remove it from the pan. Let it cool on a wire rack before frosting it.
That’s all there is to it! You now have a delicious shortcut red velvet cake that took you no time at all.
Substitutions and Variations
Feeling adventurous with your red velvet cake recipe? Look no further as this recipe has several possible substitutions and variations that you can try.
Substituting buttermilk: If you don’t have buttermilk, you can use regular milk or mix 1 tablespoon of lemon juice or vinegar with 1 cup of milk. Give it a few minutes to sit before adding it to the recipe.
Using different types of oil: Instead of vegetable oil, you can use canola oil or melted coconut oil for a slight change in flavor. You can also substitute half of the oil with unsweetened applesauce or mashed banana for a healthier option.
Going vegan: For a vegan red velvet cake, replace the eggs with 3/4 cup of unsweetened applesauce or 3 flax eggs. Use almond milk instead of buttermilk and swap the cream cheese frosting for a vegan alternative.
Adding chocolate chips: Fold 1/2 to 1 cup of semi-sweet chocolate chips into the batter for a chocolatey twist.
Making brownies or cupcakes: Turn this recipe into delicious red velvet brownies by using a square baking pan instead. For cupcakes, bake the batter in lined muffin cups and reduce baking time to about 18-20 minutes.
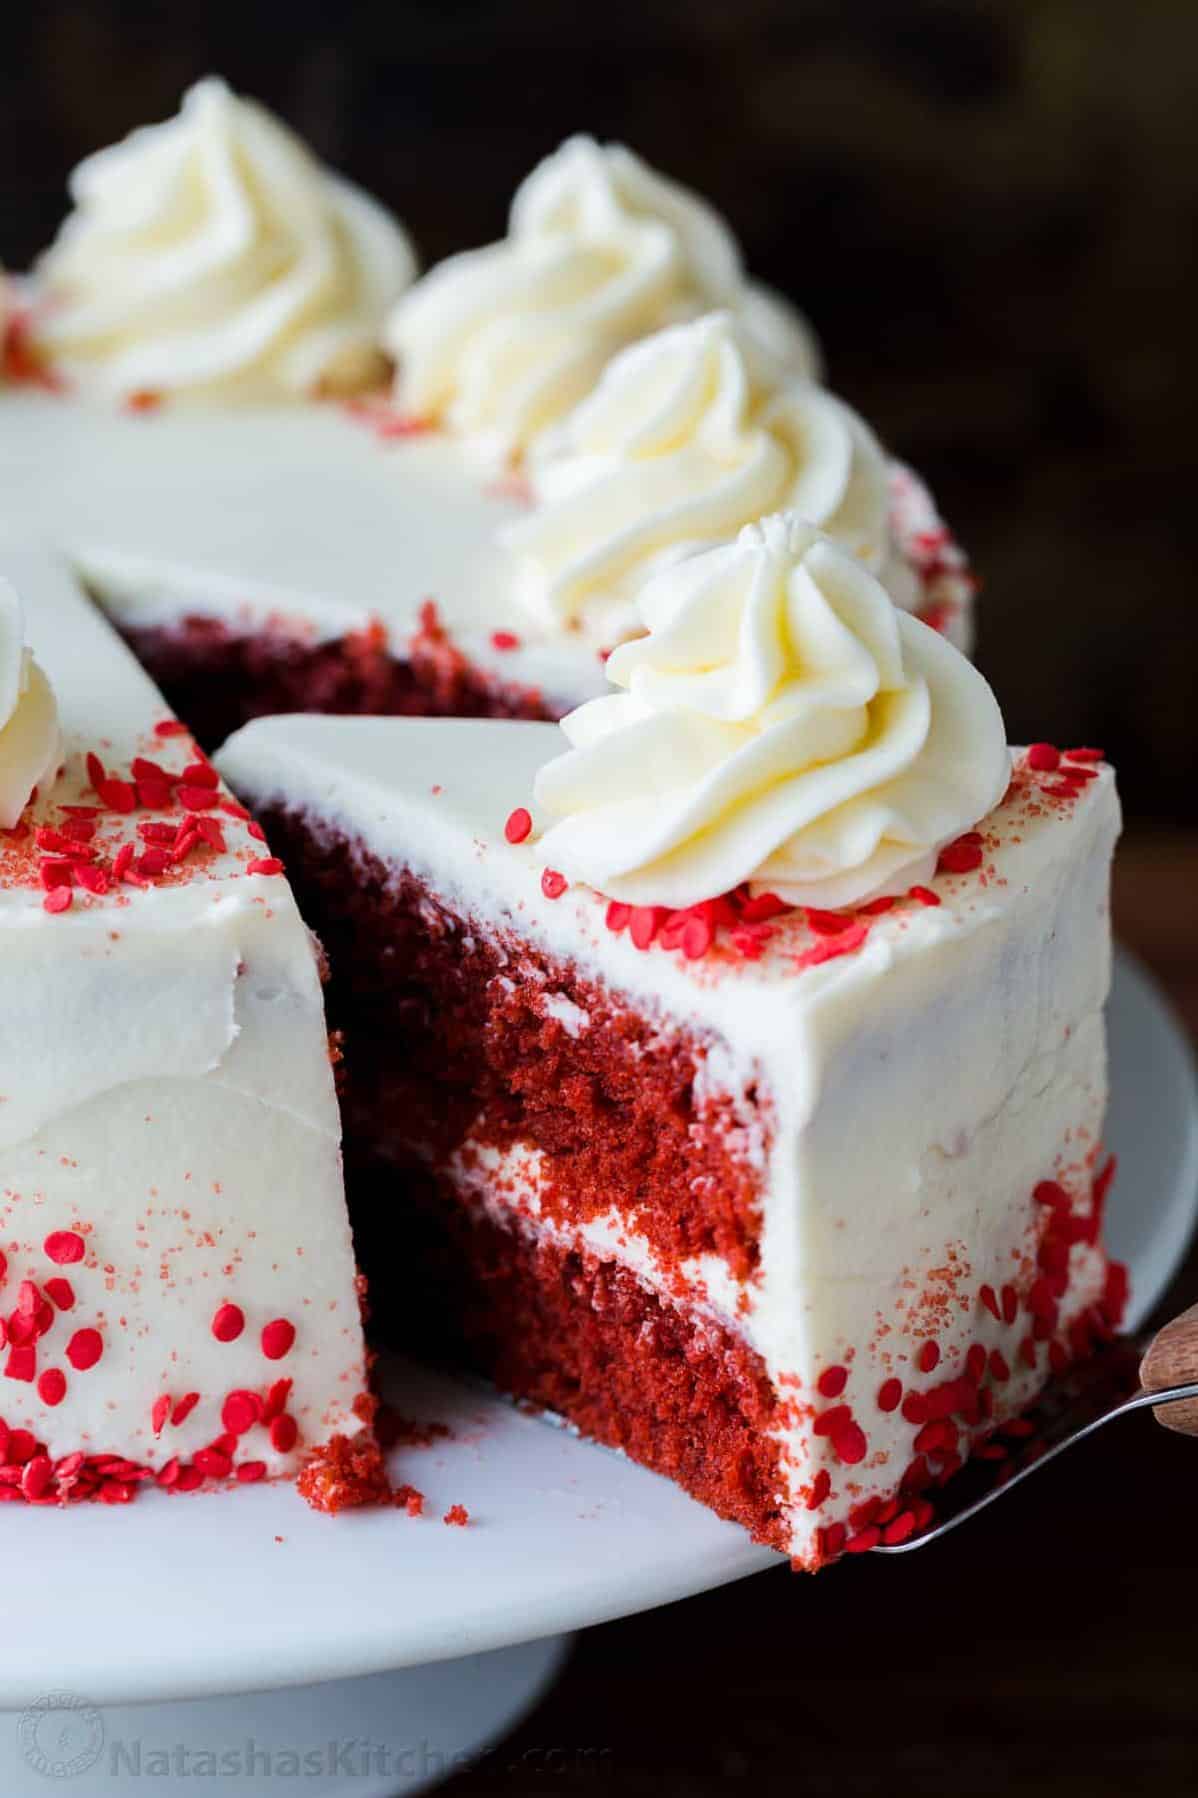
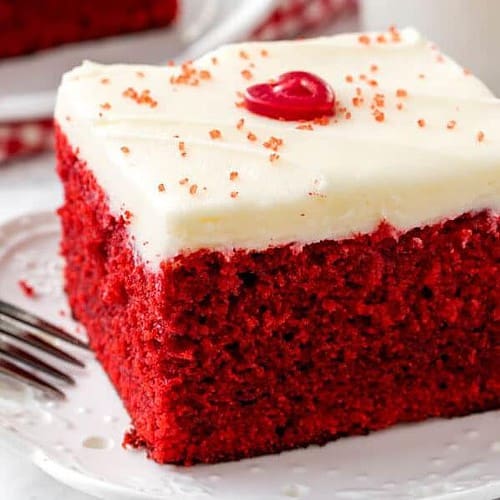
Trying different frostings: While cream cheese frosting is a classic pairing for red velvet cake, you can also try other frosting options such as vanilla buttercream, whipped cream, or chocolate ganache. Adding shaved chocolate or sprinkles on top will take your cake to the next level.
Be creative and don’t be afraid to experiment with different flavors and techniques to create your perfect masterpiece!
Serving and Pairing
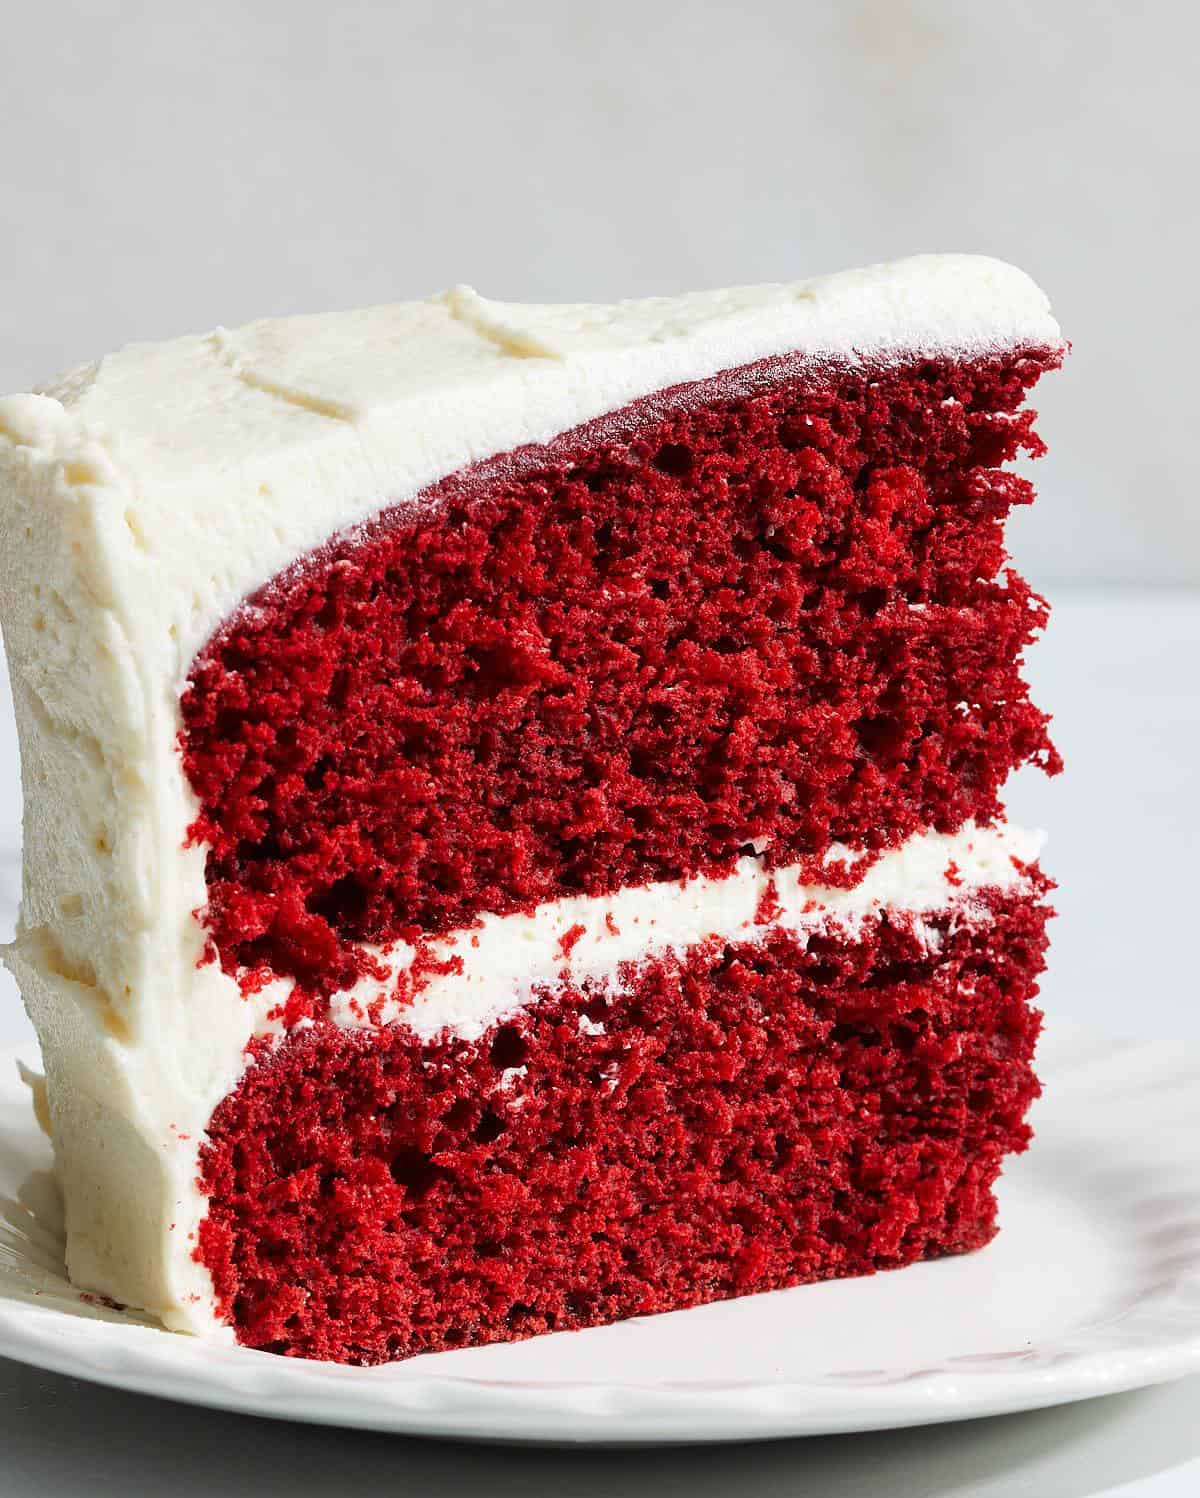
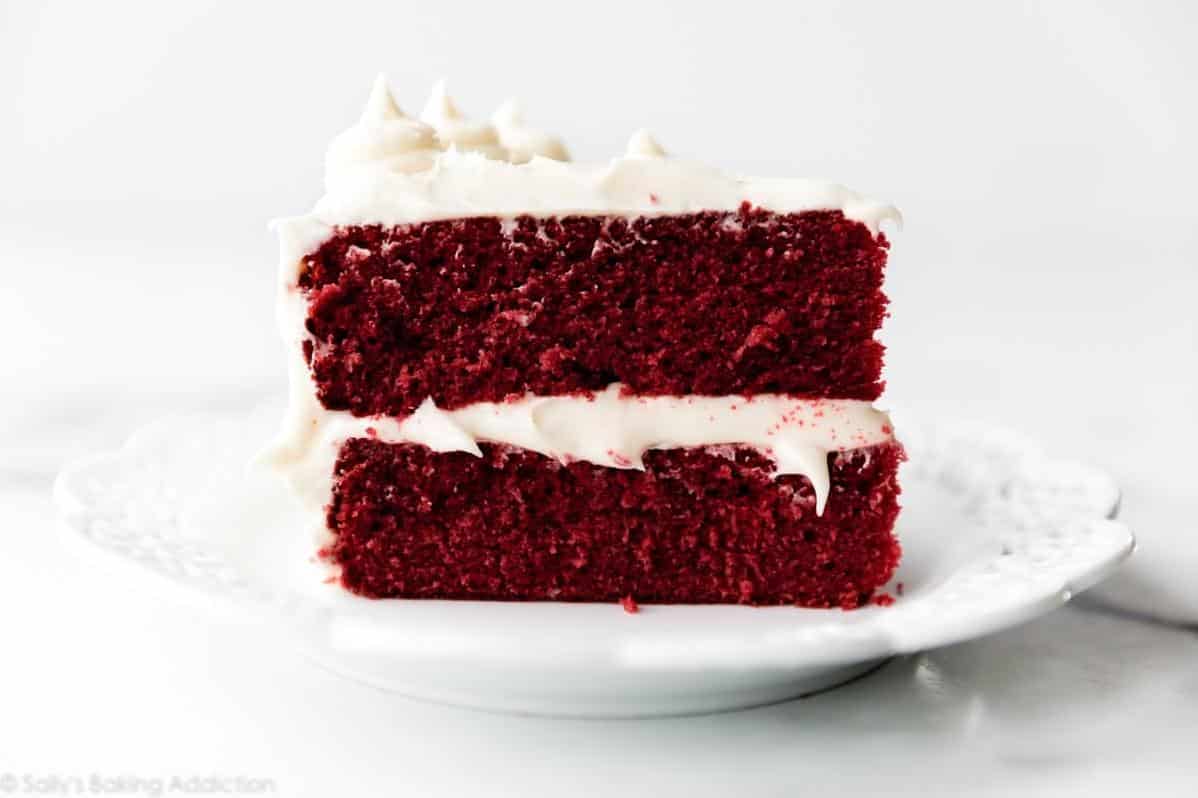
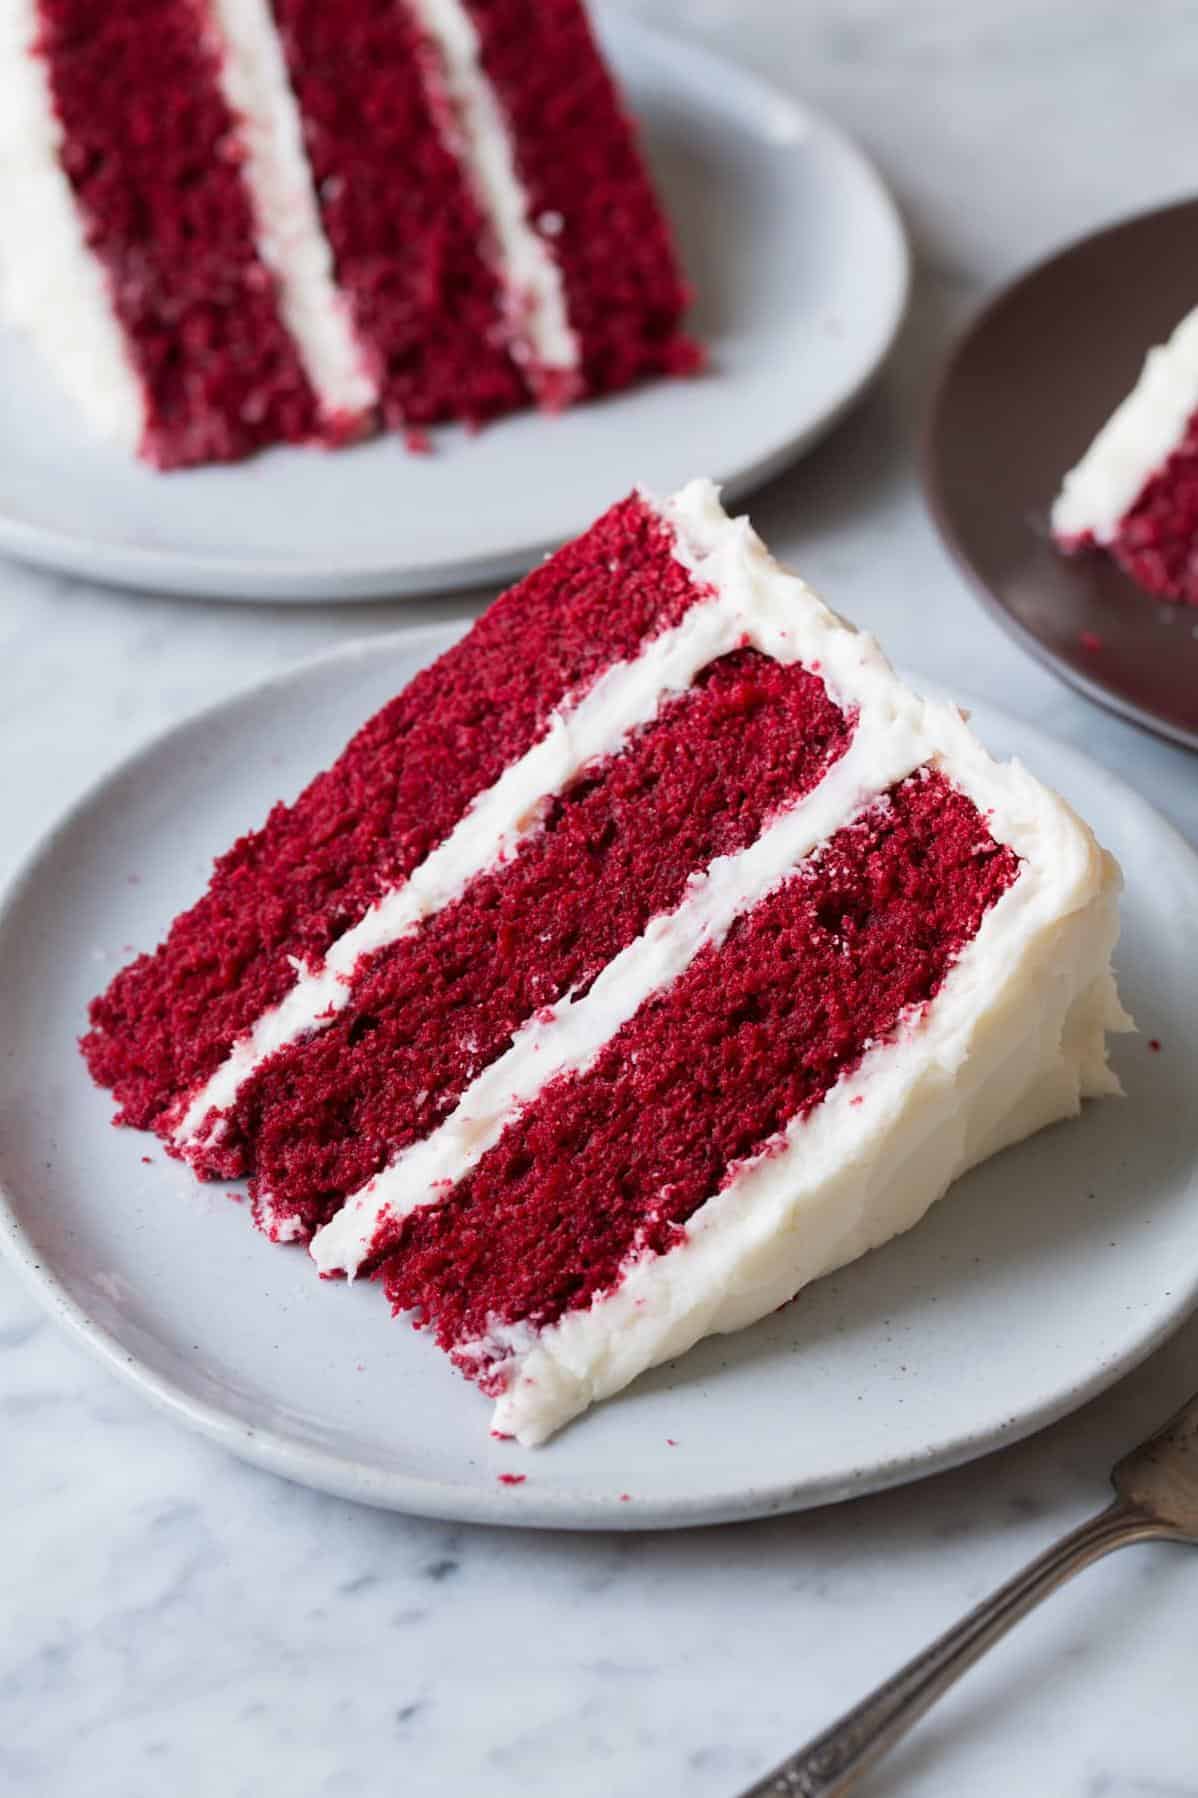
Once your shortcut red velvet cake is all baked and frosted, it’s time for the best part: serving and enjoying! The rich, velvety texture and sweet tangy taste makes it an ideal dessert for any occasion. A slice of this beautiful cake is perfect for a family gathering, a birthday party or even as a sweet indulgence on a lazy afternoon.
For those who love the classic cream cheese frosting with their red velvet cake, pair it with a tall glass of iced milk or heavy cream to balance out the richness. If you have a slightly sweeter tooth, try pairing it with a fruity dessert wine like Moscato D’Asti or a fresh fruit salad.
If you’re feeling more adventurous, serve your cake with flavored whipped cream such as peppermint or cinnamon for an extra burst of flavor. Or take your cake to a whole new level and add some fresh, juicy berries like strawberries, raspberries or blueberries on top.
If you want to experiment, you don’t have to stick to just having this cake for dessert – why not make some mini Red Velvet cupcakes instead? They make great bite-sized portions for parties or gatherings.
No matter how you choose to serve your Shortcut Red Velvet cake, one thing’s certain – it will definitely leave your taste buds wanting more!
Make-Ahead, Storing and Reheating
Once you make this delicious red velvet cake, you’ll want to ensure that any leftovers are stored properly so that you can enjoy them at a later time. Luckily, this recipe is great for making ahead of time or storing and reheating.
To make-ahead: Allow the cake to cool completely, then wrap it tightly in plastic wrap or aluminum foil, and store it in the refrigerator for up to three days. You can also freeze the cake for up to two months. To thaw, take it out of the freezer and let it sit at room temperature for a few hours before serving.
To store: Store the cake in an airtight container in the refrigerator for up to four days. If you’ve already frosted the cake, cover the container with plastic wrap before putting on the lid. This will help to prevent the frosting from getting smeared when removing or putting on the lid.
To reheat: Preheat your oven to 350°F (175°C). Slice the leftover cake and wrap each slice tightly in foil. Place slices on a baking sheet and heat in oven for 10-15 minutes or until heated through.
One great way to use up any leftover cream cheese frosting is by spreading it on some graham crackers or even using it as a dip for some fresh fruit – yum!
With these simple tips, there’s no reason you can’t enjoy this delicious red velvet cake recipe whenever the mood strikes.
Tips for Perfect Results
In baking, precise measurements and timing are crucial. To ensure the perfect Red Velvet Cake every time, here are a few tips to help you achieve success:
First, ensure that all your ingredients are at room temperature. This includes the eggs, buttermilk and vegetable oil. Cold ingredients will not mix properly, affecting the texture and taste of your cake.
When measuring dry ingredients such as flour and cocoa powder, use a measuring cup rather than a weighing scale. Sift these ingredients before measuring to remove any lumps or clumps that could cause uneven mixing and lead to an undesirable texture in your cake.
For best results, use cake flour instead of all-purpose flour. Cake flour has a finer texture and a lower protein content than all-purpose flour, which produces a lighter and fluffier cake.
Another tip is to avoid overmixing the batter. Overmixing creates excess gluten in the cake, resulting in a tough texture rather than the moist and tender crumb of a perfect Red Velvet Cake.
Additionally, when adding food coloring to your batter, use gel or paste food coloring rather than liquid food coloring. Gel or paste food coloring produces more vibrant colors without affecting the integrity of the batter.
Finally, take care not to overbake your cake. Use a toothpick to check for doneness – if it comes out clean or with just a few crumbs clinging to it, your cake is ready. Overbaked cakes tend to dry out quickly and lose their signature moistness.
Follow these tips and you’ll be able to serve up delicious, picture-perfect Red Velvet Cakes every time!
FAQ
Before wrapping up, let’s go through some of the common questions regarding this red velvet cake recipe. Here are some of the FAQs and answers that can help you prepare a perfect dessert for your loved ones.
How do you make red velvet cake red?
Achieving a vibrant red color in red velvet recipes can be done through a few simple ingredient swaps and additions. One option is to switch baking soda for baking powder. Another is to opt for natural, non-alkalized cocoa powder. Additionally, incorporating extra amounts of white vinegar or buttermilk can help enhance the vivid hue of the final product.
What makes the velvet in red velvet cake?
It’s a common misconception that the term “velvet” in Red Velvet Cake refers to the texture of the dessert. Actually, it refers to the addition of cocoa powder in the recipe. The word “velvet” was originally used to indicate that the cake would be soft and smooth, thanks to the cocoa powder. This interesting piece of information sheds light on the evolution of the name of this classic dessert.
Why do you add vinegar and baking soda to red velvet cake?
Red velvet cake is not just a treat for the taste buds, but also a feast for the eyes with its striking red hue complemented by cream cheese frosting. Interestingly, this cake makes use of a unique technique where baking soda is combined with vinegar to give it an extra boost in terms of rising power. It’s not often that you’ll see this technique used in cake recipes.
How do you make a red velvet cake taste like a bakery cake?
When it comes to achieving a decadent texture for your baked goods, there are a few substitutions you can make. Instead of using oil, try substituting it with melted butter in equal quantities for a richer taste. Adding an extra egg can also increase the density of your recipe. For cakes, consider swapping out the water for equal parts of milk or buttermilk if you’re making red velvet cake. Another option is to use a combination of half water and half sour cream. These changes can make a significant difference in the texture and richness of your baked goods, so give them a try!
Bottom Line
In conclusion, this easy and delicious Shortcut Red Velvet Cake Recipe is perfect for those who want to indulge in a decadent dessert with minimal effort. Its rich and moist texture is sure to please anyone with a sweet tooth. Plus, with the flexibility of substitutions and variations, you can customize it to your liking.
Whether it’s for a special occasion or just because, the Shortcut Red Velvet Cake Recipe is a crowd-pleaser that won’t disappoint. With just a few simple steps, you can make an impressive and tasty dessert that will have your guests raving. So why not give it a try? Trust us, your taste buds will thank you.
Red Velvet Cake - the Shortcut Recipe Recipe
Ingredients
- 1 (18 1/2 ounce) package German chocolate cake mix (any brand)
- 3/4 cup buttermilk
- 1/4 cup water
- 1/4 cup vegetable oil
- 3 eggs
- 1 ounce red food coloring (yes the entire bottle)
Instructions
- Heat oven to 350. Grease bottom and sides of 13x9x2 pan* with shortening. I use baker’s joy spray or pam for baking spray - you know the kind that has the oil and flour in the can?. Just don’t use regular pam.
- Beat all ingredients in a large bowl with electric mixer on low speed 30 seconds, scraping bowl occasionally. Beat on medium speed 1 minute, scraping bowl occasionally. Pour into pan(s).
- Bake 30 to 35 minutes or until toothpick inserted in center comes out clean. Cool.
- Cooked Frosting.
- 1 cup milk.
- 1/3 cup Flour.
- 1 cup butter or margarine, softened to room temperature.
- 1 cup powdered sugar 1 tsp vanilla.
- Stir milk and flour in sauce pan until blended. Heat over medium heat til thickened. Cover and refrigerate about 15 minutes or until cool. Beat butter, powdered sugar and vanilla in medium bowl on medium speed until smooth. Gradually beat in flour mixture til blended. Frost cake.
- PS - some people like cream cheese frosting with the Red Velvet, but the cooked frosting is traditional. Just use what you like.
- * I’ve used two 9 inch round cake pans with this recipe no problem.
- Oh. And one trick I’ve learned with box cake mixes is, to slightly decrease the water , and increase the oil, which makes for a moister cake - in this case I’d probably decrease the water by one tablespoon or so, and increase the oil.
- Also, I’ve omitted the food coloring - and just used this as an easy way to make german chocolate cake - just change the frosting to the traditional coconut pecan frosting used for german choc cakes…. No one has ever noticed it wasn’t homemade.
- One last note: I've used this recipe with Duncan Hines, and Betty Crocker cake mixes.
Your Own Notes
Nutrition
Recommended Recipes Just For You

Steven is a chef by heritage, so it’s no wonder why baking is such a big part of who he is. To share his passion for all things sweet, he created cookiesncrepes.com. It’s the perfect platform to indulge in delicious treats, all with a sprinkle of his signature flare.