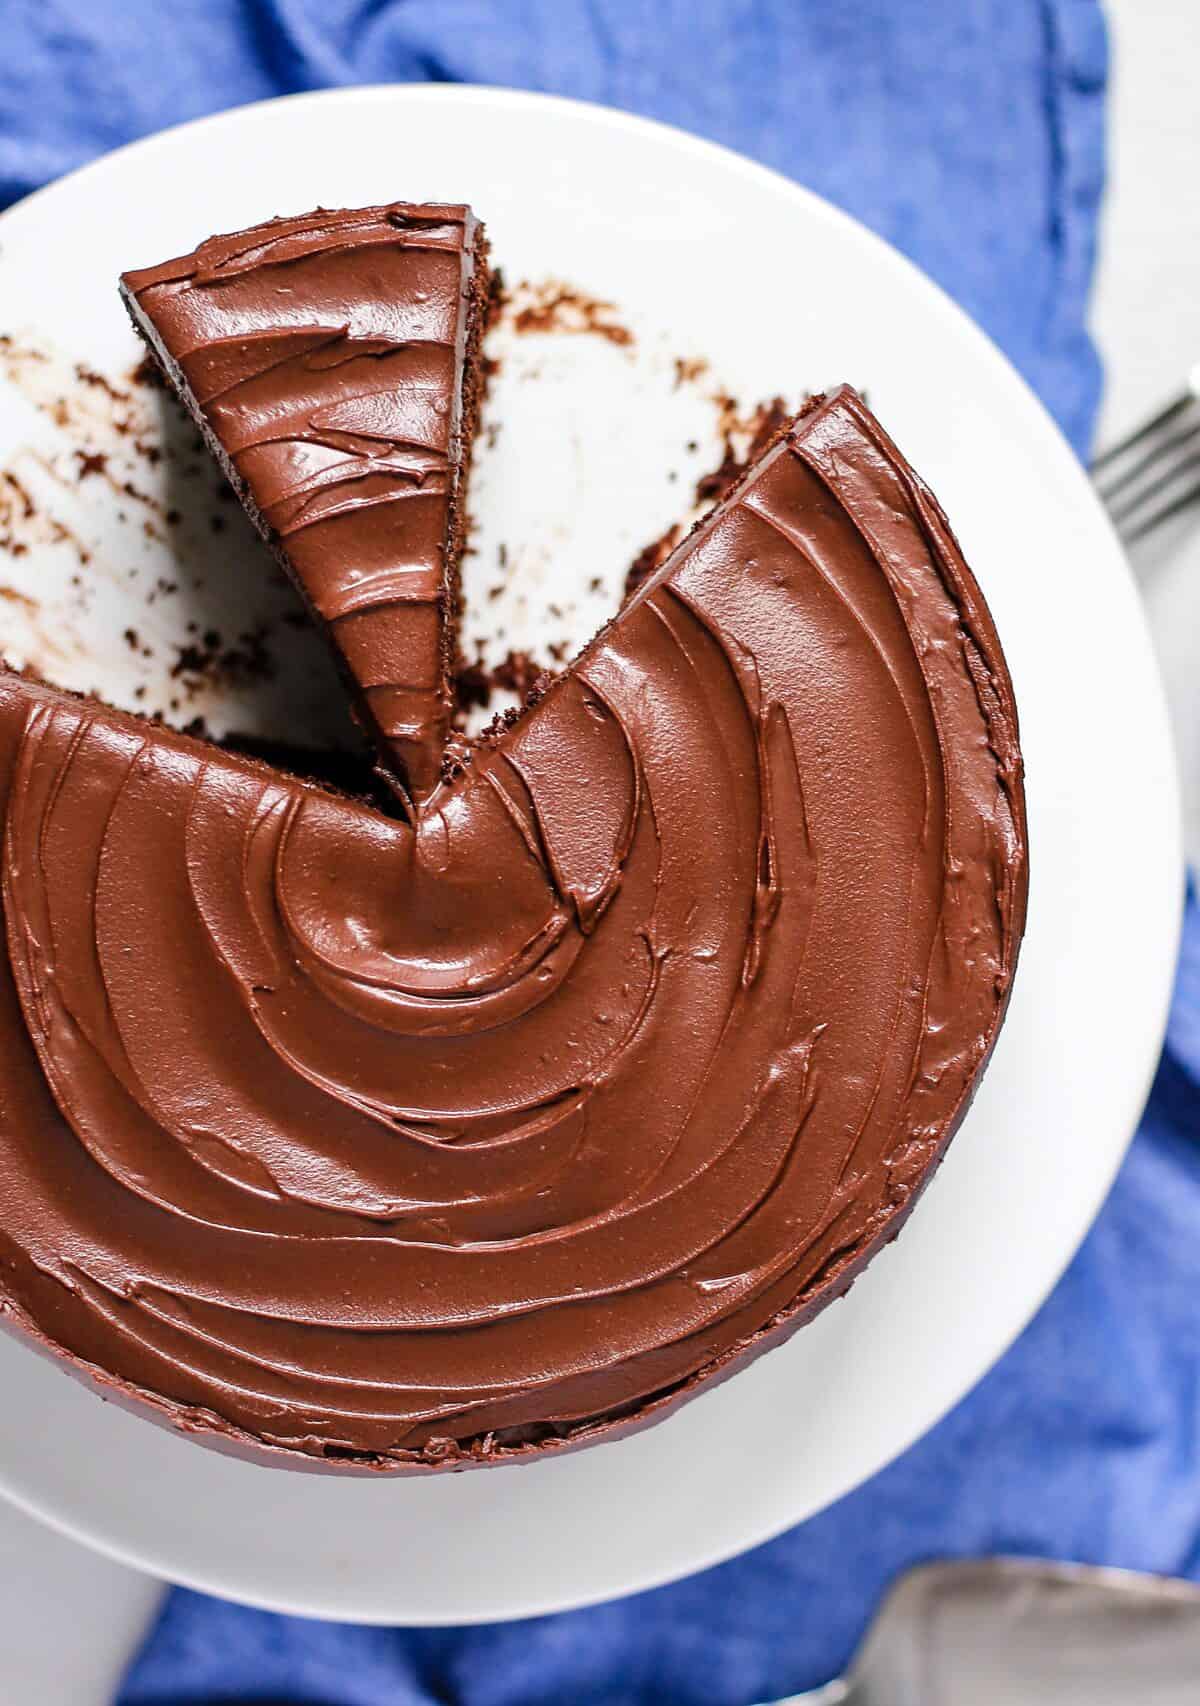
Delicious Recipe: Decadent Chocolate Band Layer Cake
The smell of fresh baking always takes me back to my childhood, and I can’t think of anything better than the aroma of chocolate cake wafting through the air. That’s why I’m excited to share with you my recipe for a decadent chocolate band layer cake.
This recipe is perfect for any occasion, from a birthday party to a romantic night in with your special someone. The layers of rich, chocolatey goodness are sure to satisfy even the most discerning sweet tooth. And with its eye-catching design, it’s guaranteed to impress your friends and family.
The best part about this recipe is how easy it is to make. Even if you’re not an experienced baker, you’ll be able to pull off this stunning cake without a hitch. Just follow my step-by-step instructions, and you’ll have a delicious dessert in no time.
So if you’re looking for a show-stopping dessert that’s as beautiful as it is delicious, look no further than my chocolate band layer cake recipe. Get ready to indulge in layers upon layers of chocolate bliss!
Why You’ll Love This Recipe
Listen up, fellow chocolate lovers, do I have a treat for you! This Chocolate Band Layer Cake recipe is a game-changer when it comes to indulging in your sweet tooth. You’ll love this recipe for every important occasion in your life, from birthdays to anniversaries and more.
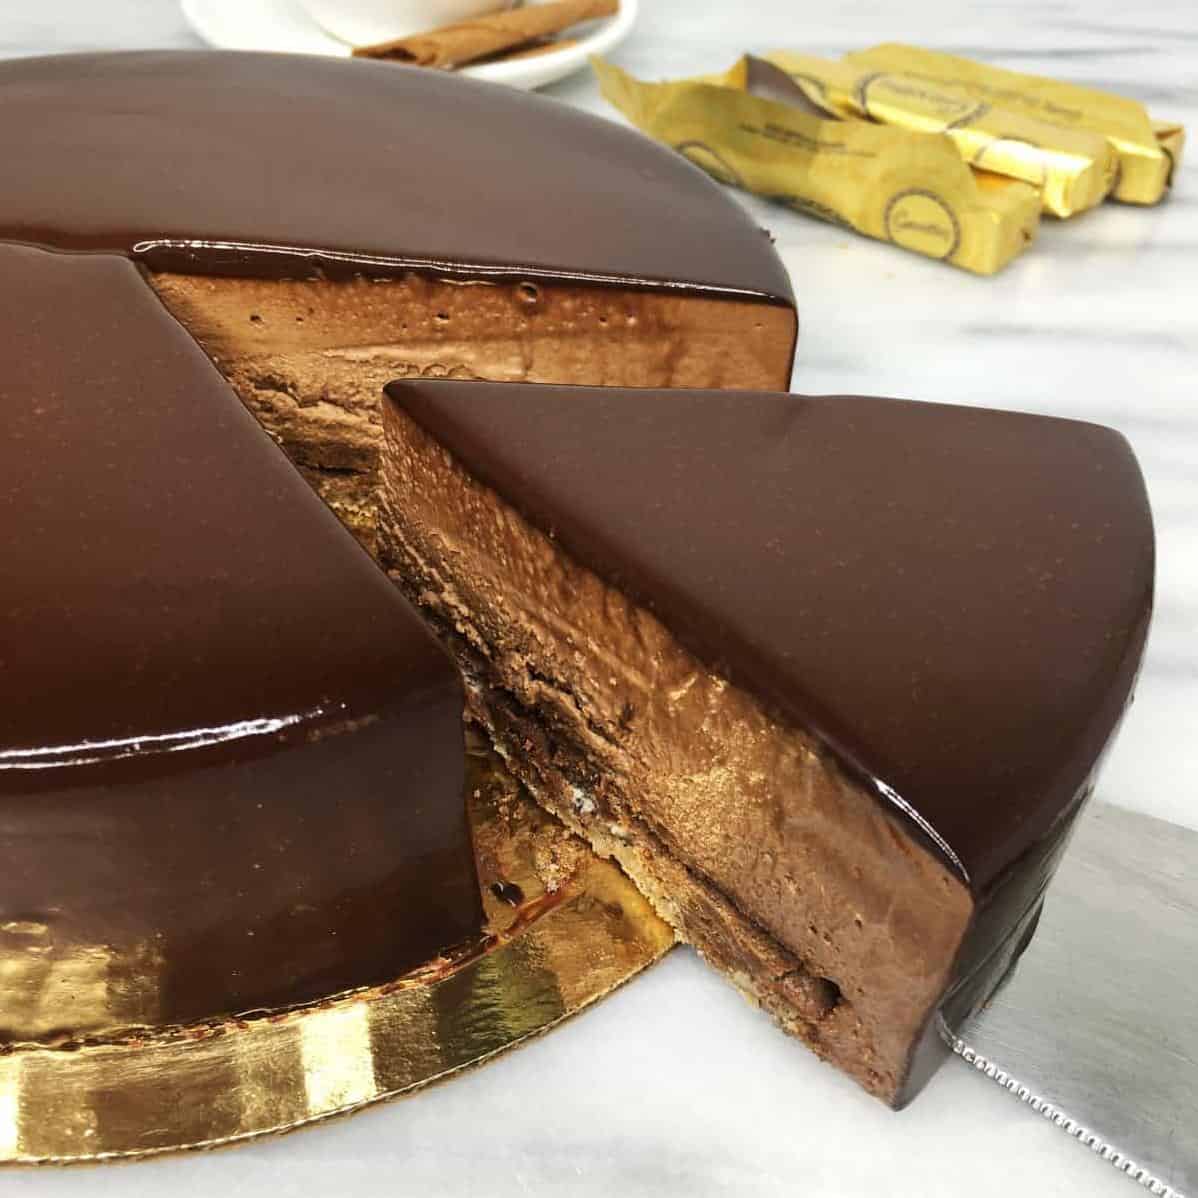
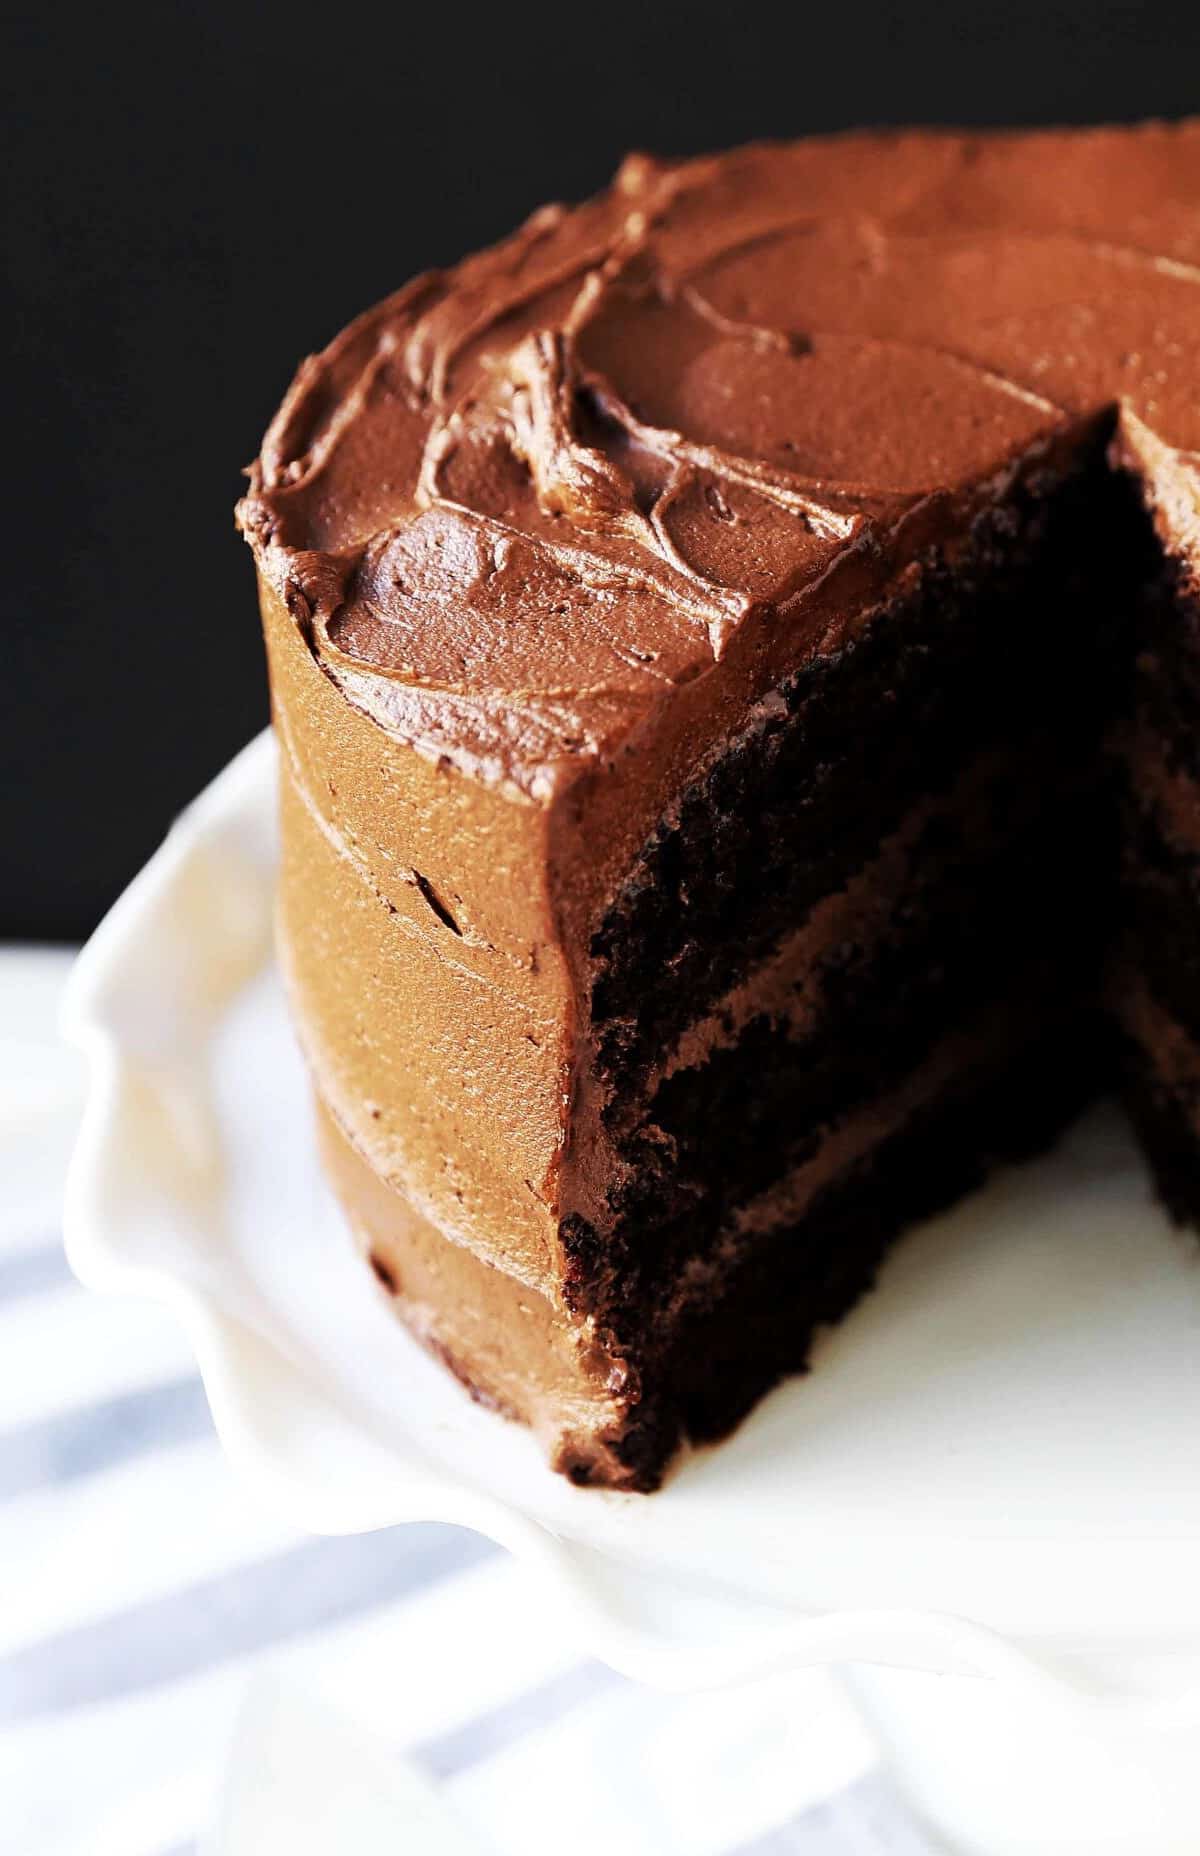
Firstly, the dark bittersweet chocolate used in creating this delectable cake will melt your heart before it melts in your mouth. And this isn’t just any ordinary chocolate cake recipe, no no. The layers of moist and luscious chocolate cake are complemented with a silky-smooth chocolate panna cotta layer that will leave you wanting more.
This easy to make recipe is a must-try with its combination of rich cocoa powder and velvety dark chocolate, creating an absolutely heavenly taste that’s perfect for the winter months (or any time of the year, let’s be real).
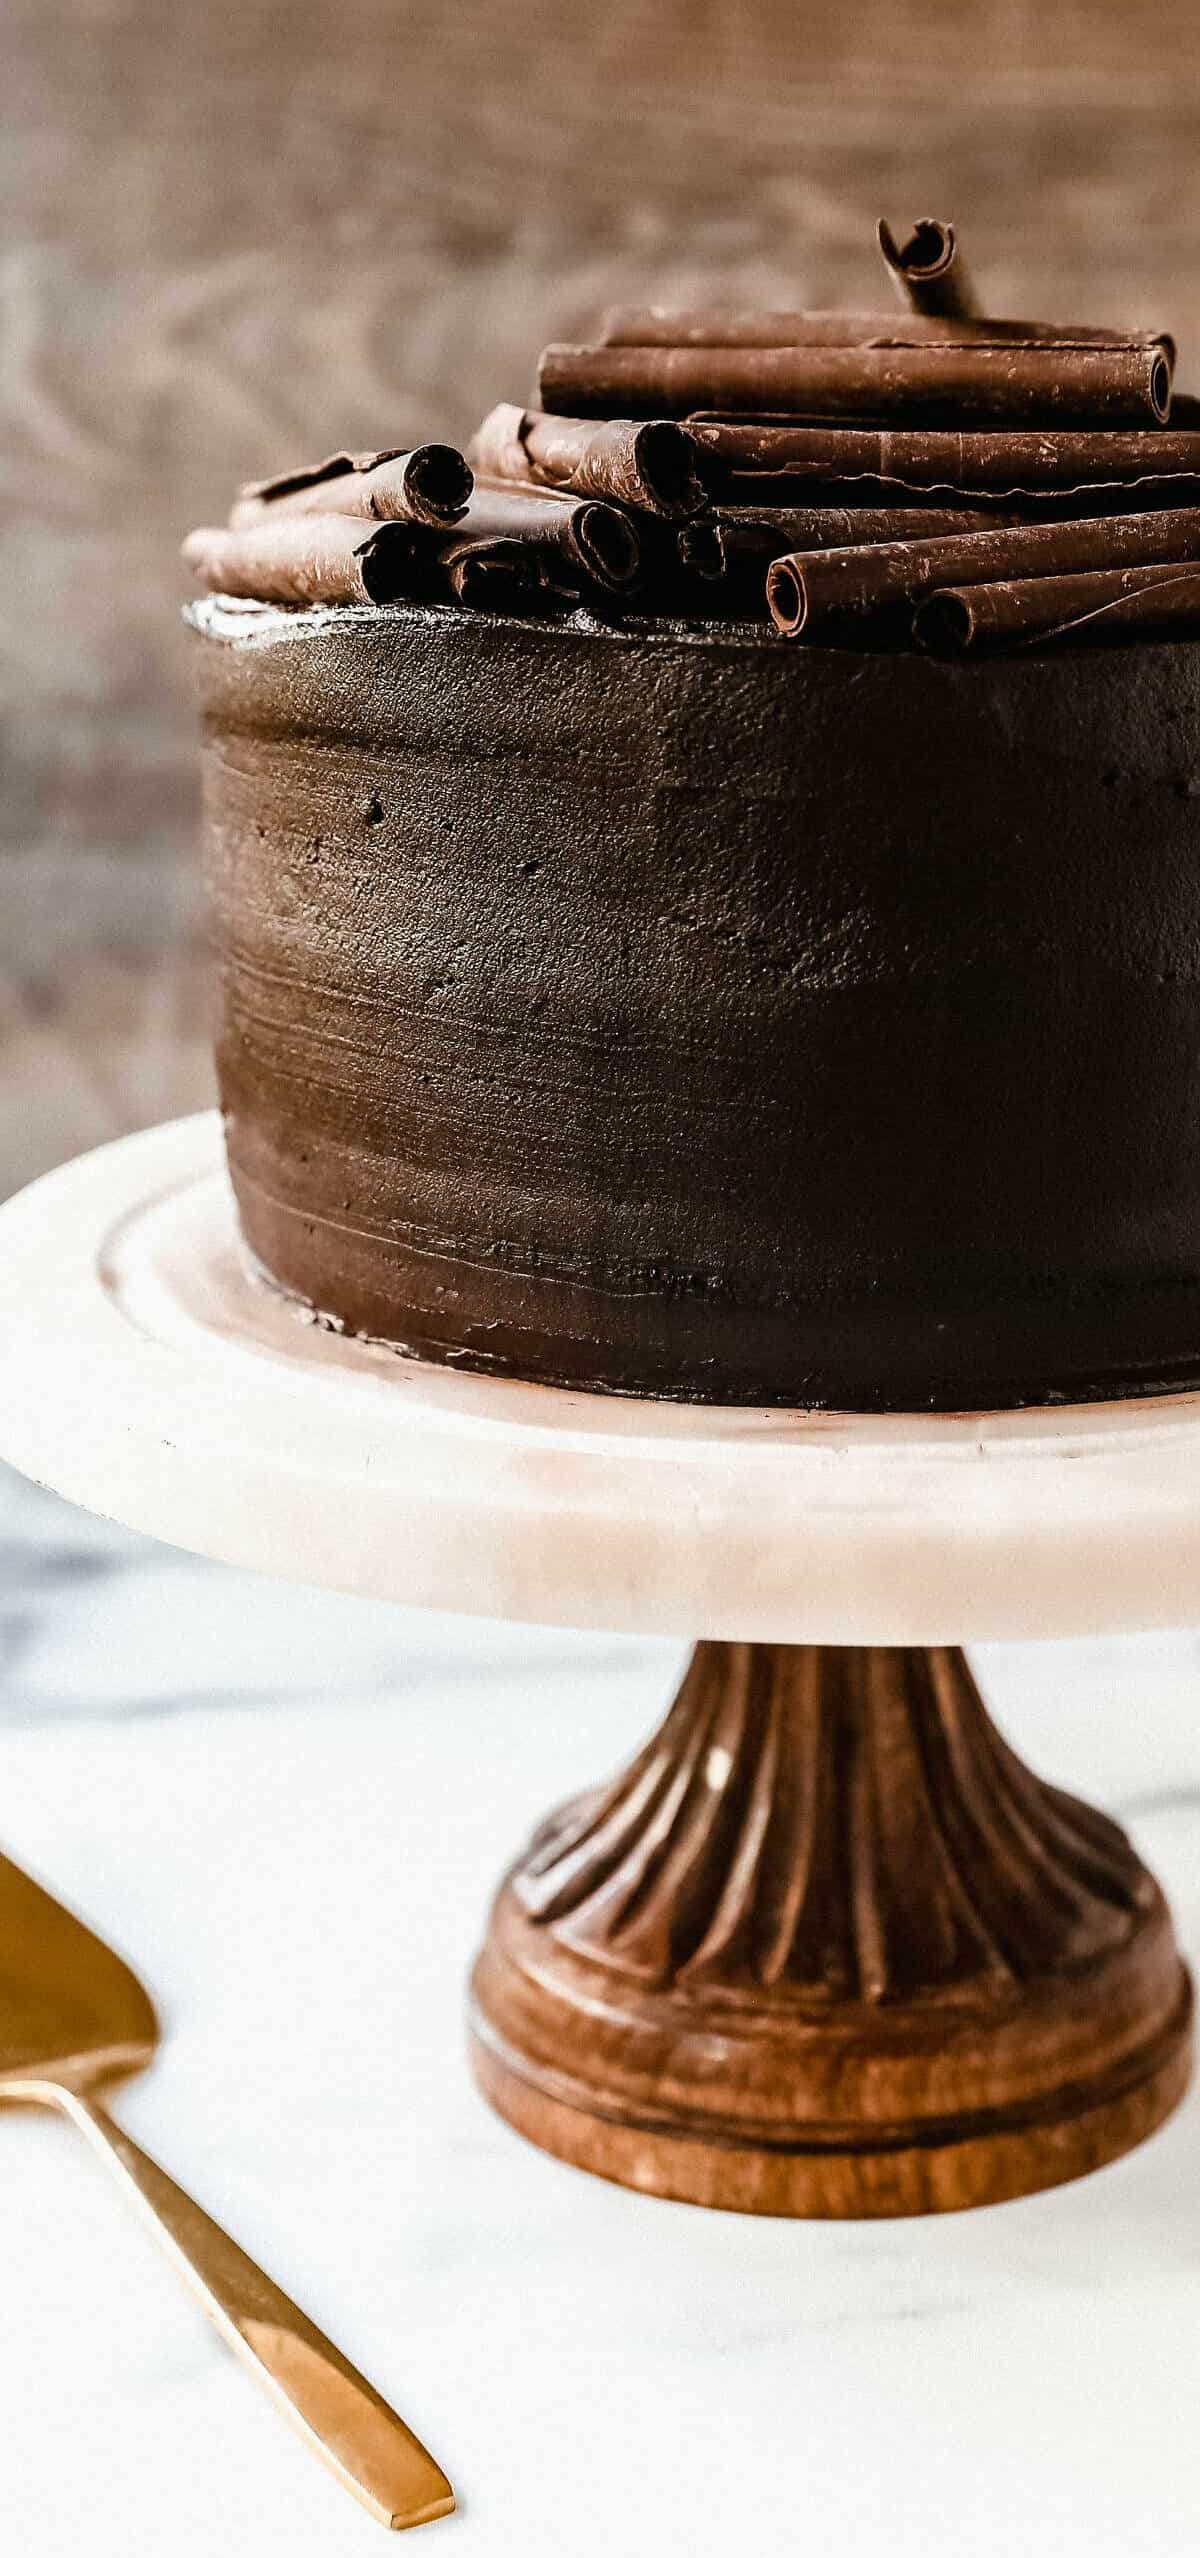
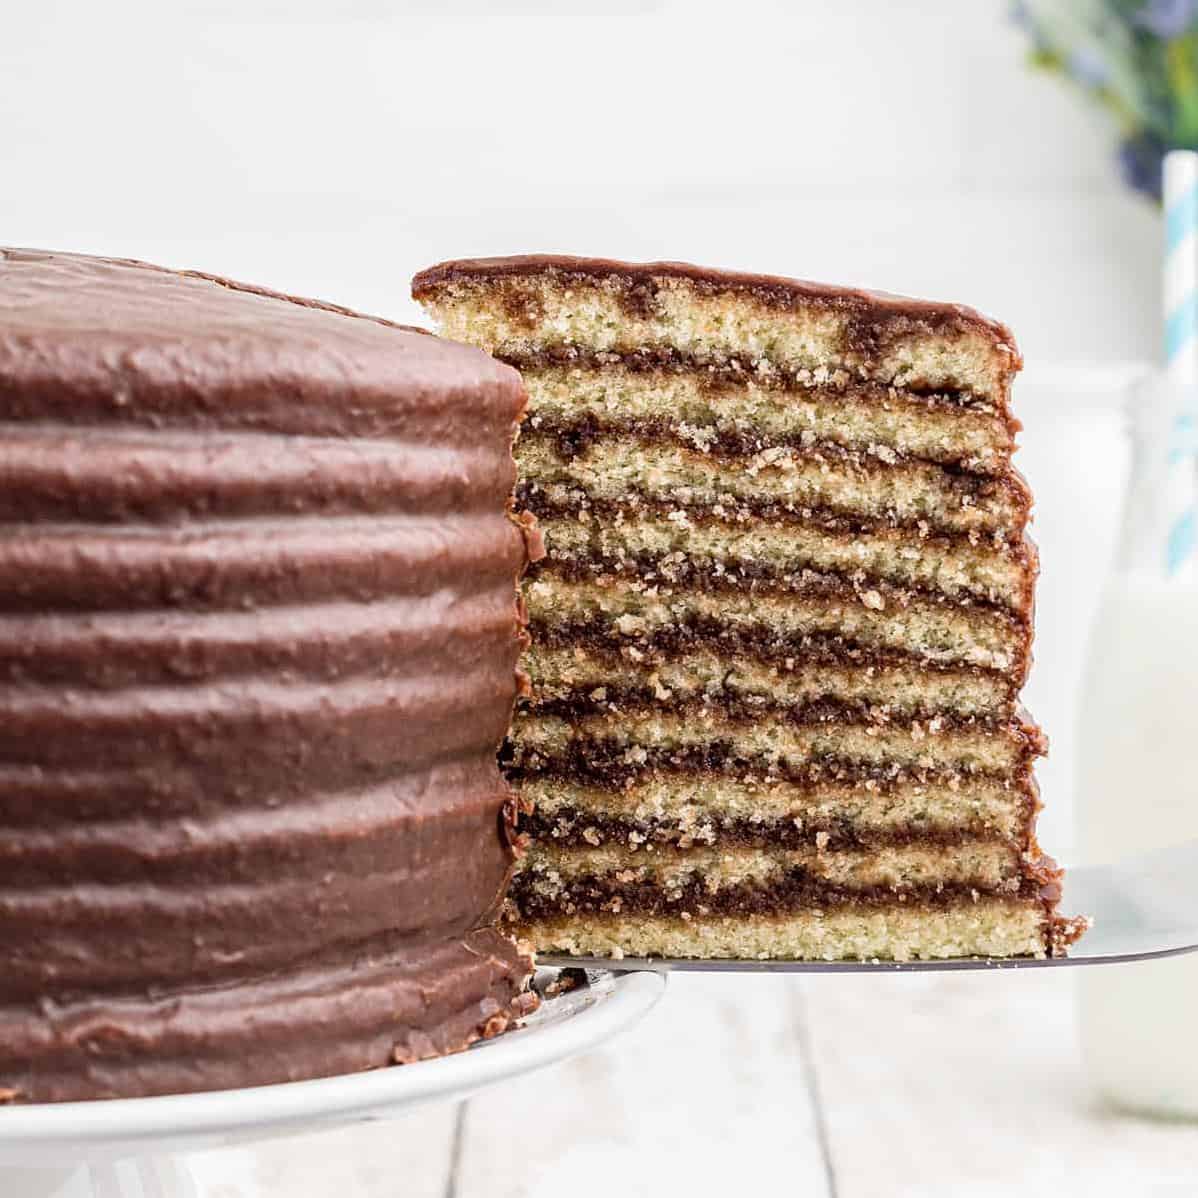
Not only does this recipe sound divine, but it also looks stunning. The neat Chocolate Band on the outside of the cake is the perfect touch for those fancy parties or when you want to impress your guests.
So why limit yourself to boring single-layer chocolate cakes or basic vanilla ones? Treat yourself and wow others with a unique take on the classic chocolate cake by trying out this Chocolate Band Layer Cake recipe. Trust me, it’s worth indulging in every bite.
Ingredient List
Here are all the ingredients you’ll need to make this delicious chocolate band layer cake recipe:
- 2 cups (280g) all-purpose flour, sifted
- ⅔ cup (80g) unsweetened cocoa powder, sifted
- 2 tsp (9.8g) baking powder
- 1 tsp (5g) baking soda
- 1 tsp (6g) salt
- 1 cup (240ml) buttermilk, at room temperature
- ¾ cup (175ml) vegetable oil
- 2 large eggs, at room temperature
- 2 egg yolks, at room temperature
- 2 cups (400g) granulated sugar
- 1 tsp (5ml) vanilla extract
- ¾ cup (180ml) hot water
For the chocolate panna cotta layer:
- 3 tsp (16g) unflavored gelatin powder
- ½ cup (120ml) whole milk
- 1 cup (240ml) heavy cream
- 7 oz (200g) bittersweet chocolate chips
For the chocolate band:
- 4 oz (113g) dark chocolate, chopped
Note: Make sure all ingredients are at room temperature before starting to make the cake batter.
The Recipe How-To
Now, for the moment we’ve all been waiting for: how to make this delicious chocolate band layer cake! Although it might seem intimidating at first, don’t worry, I’ll guide you through the whole process step by step.
Ingredients
Before we dive in, let’s make sure we have everything we need.
Ingredients:
– 1⅔ cups of all-purpose flour
– ¾ cups of unsweetened cocoa powder
– 1 tsp. of baking soda
– 1 tsp. of salt
– ½ cup of unsalted butter (at room temperature)
– 1 cup of granulated sugar
– 2 large eggs (at room temperature)
– 1 tsp of vanilla extract
– 1 cup buttermilk (at room temperature)
– 2 cups of bittersweet chocolate chips
Instructions
Preparing the Cake Layers
- Preheat your oven to 350°F.
- Divide the cake batter evenly between two 9-inch round cake pans that have been greased and floured or covered with parchment paper.
- Bake at your preheated oven temperature for 30 minutes, or until a toothpick inserted in the center comes out clean.
- Once baked, remove pans from the oven and let them cool for 10 minutes before removing cakes from the pans and allowing them to cool down completely on a wire rack.
Making the Chocolate Band & Panna Cotta Layers
- Meanwhile, prepare your chocolate band: line a half-sheet pan with parchment paper and set it aside.
- Melt 2 cups of bittersweet chocolate chips in a heatproof bowl either over simmering water or in a microwave until smooth.
- Pour melted chocolate onto the prepared sheet pan and use an offset spatula to spread it into an even layer around ¼ inch thick.
- Freeze for about 10 minutes until firm enough to handle, but not solid.
- With a sharp knife or pizza cutter, cut thin strips of chocolate from edge to edge that are about 11 inches long and about 2 inches wide.
- Place finished bands on wax paper and refrigerate.
For your panna cotta layer:
- In a medium-sized saucepan over medium heat, whisk together 2 cups heavy cream, ¾ cup granulated sugar, and 6 egg yolks until it reaches a boil.
- Whisk vigorously until it boils again and remove from heat immediately when it starts boiling.
- Add in a packet of powdered gelatin according to instructions on the packet (usually around two-and-a-half teaspoons) and whisk thoroughly until smooth.
- Set saucepan aside and allow it to cool for about 20 minutes, then pour into six small silicone cake tins and refrigerate until firm.
Assembling Your Cake
Now comes the fun part — putting everything together!
- Cut each cake horizontally
Substitutions and Variations

Now, I know what you’re thinking – “Hey, this recipe sounds amazing and all, but are there any substitutions or variations that I can try out?” The answer is a resounding yes!
First off, let’s talk about the chocolate. While bittersweet chocolate is my personal preference for this recipe, you can swap it out for other types like dark or milk chocolate if you prefer. Don’t be afraid to get creative with your flavor choices!
If you’re feeling adventurous, you could also experiment with different fillings between the cake layers. How about a chocolate panna cotta for a luxurious touch? Or maybe a layer of whipped cream with fresh berries for a lighter option? The possibilities are endless.
And don’t forget about the shape of the cake itself! While this recipe is written for a classic round layer cake, you could easily adapt it to other shapes like a sheet cake or bundt cake. Just adjust the baking time accordingly and you’ll have a whole new dessert.
Trying to cut down on calories or sugar? You could try substituting some of the butter for applesauce or greek yogurt to make the cake lighter. Or swap out the frosting for a simple dusting of powdered sugar or cocoa powder instead.
Finally, if you’re looking to really impress your guests, consider adding some extra layers or flavors to the cake. A mint chocolate chip cake, royal chocolate mousse cake, triple chocolate cream cake – the sky’s the limit! And don’t forget to experiment with different kinds of frosting or toppings like double chocolate ganache, royal icing, or even chocolate praline.
At the end of the day, remember that baking is all about making it your own. Use these suggestions as a jumping off point and feel free to get creative with your own unique variations on this delicious chocolate band layer cake recipe.
Serving and Pairing
Now that you’ve mastered this chocolate band layer cake recipe, it’s time to enjoy the fruits of your labor! This rich and decadent cake is perfect for serving at special occasions, dinner parties or to simply treat yourself.
If you’re looking to pair this chocolate layer cake with a drink, I’d highly recommend pouring yourself a nice hot cup of coffee or espresso, as the rich flavor of the chocolate complements the strong taste of the coffee. Alternatively, a glass of red wine or port also pairs exceptionally well with the deep, intense flavors of this cake.
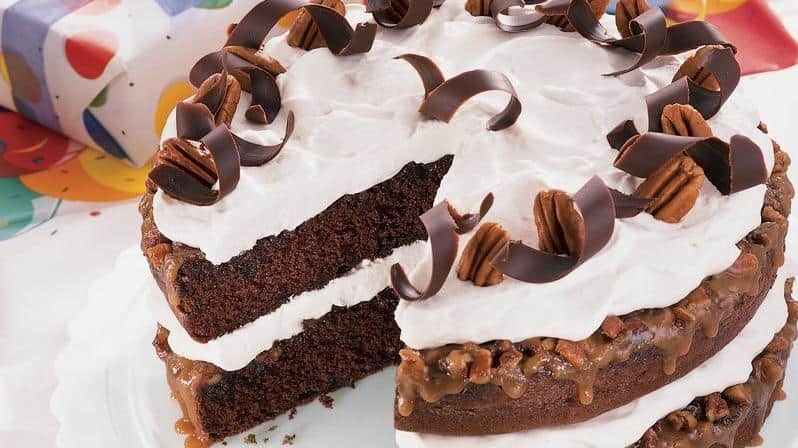
To really take things up a notch, try serving this cake with additional sweet toppings such as whipped cream, fresh berries or a dusting of powdered sugar. The addition of these extras can really bring out the sweetness in every bite and create an indulgent experience for your taste buds.
This easy-to-make chocolate band layer cake is perfect for any special occasion that calls for a delicious and decadent treat. Whether you’re celebrating a birthday or simply want to impress your guests at your next dinner party, this cake is sure to be a showstopper that everyone will love. So go ahead and indulge in this mouth-watering chocolate cake recipe – you won’t be disappointed!
Make-Ahead, Storing and Reheating
Nothing is worse than investing your time and energy into a beautiful chocolate layer cake recipe, only to have it dry out or lose its flavor when stored. But fear not, because I am here to guide you through the process of making, storing, and reheating this chocolate band layer cake.
If you plan on making this cake ahead of time, keep the layers separate until ready to assemble. Store them in an airtight container at room temperature for up to 24 hours. Alternatively, you can store the cooled cake in the refrigerator for up to 2-3 days. Just be sure to wrap it tightly with plastic wrap to prevent any moisture or odors from seeping in.
When it comes time to reheat the cake, preheat your oven to 350°F. Wrap each layer in aluminum foil and place it in the oven for 10-15 minutes or until heated through. Alternatively, you can use a microwave-safe dish and reheat individual slices for about 20-30 seconds on high power.
If you have leftover frosting or ganache, store it in an airtight container in the refrigerator for up to 1 week. When ready to use again, simply bring it back to room temperature before spreading.
Remember that different variations of this cake may require different storage methods and times. For example, if you’re making a chocolate panna cotta layer cake or a mint chocolate chip cake, these may need to be refrigerated at all times due to their ingredients.
By following these tips for make-ahead, storing, and reheating your chocolate band layer cake, you can ensure that each slice will still taste just as fresh and delicious as when you first made it.
Tips for Perfect Results
Now that you have the ingredients and the instructions, let’s dive into some helpful tips for making the perfect Chocolate Band Layer Cake.
1. Use high-quality chocolate.
To make a cake as delicious as this one, don’t skimp on the quality of chocolate you use. Opt for bittersweet or dark chocolate with at least 70% cocoa solids for a rich, deep flavor.
2. Room temperature ingredients are key.
Make sure to take all your refrigerated ingredients out of the fridge at least an hour before starting to allow them to come to room temperature. This will ensure an even and smooth batter.
3. Don’t overmix the batter.
When mixing your wet and dry ingredients together, be careful not to overmix the batter as it can result in a tough cake. Mix until just combined and no lumps remain.
4. Grease and line your pans properly.
To prevent your cake from sticking to the bottom of the pan, grease it with butter and dust it with flour. You can also line the bottom with parchment paper for easier removal.
5. Let your cake cool completely before frosting.
Once your cake is out of the oven, let it cool in the pan for 10 minutes before removing it onto a wire rack to cool completely. If you try frosting a warm cake, the frosting will melt and slide off.
6. Add extra flavor with mix-ins.
If you want to add an extra layer of flavor or texture, feel free to add some chocolate chips or chopped nuts into your batter.
7. Finish with a professional touch.
Once your cake is assembled, give it a professional finish by smoothing out the sides with a spatula or offset knife dipped in hot water.
By following these tips, you’ll be well on your way to creating a show-stopping Chocolate Band Layer Cake that will impress anyone who takes a bite!
Bottom Line
:
As you can see, making a chocolate band layer cake is easy and fun. With its rich taste of bittersweet chocolate and the delicate layers of chocolate panna cotta, this cake is sure to impress your friends and family.
Whether you are celebrating a special occasion or just want to spoil yourself with a decadent dessert, this chocolate band layer cake recipe will not disappoint. So why not give it a try and indulge in the sweet flavors of this masterpiece.
So go ahead and experiment with different variations like mint chocolate chip cake, royal chocolate mousse cake, triple chocolate cream cake or double chocolate ganache. You can also make it a single layer or add some decorations like chocolate praline or chocolate icing to create a perfect birthday cake.
Don’t hesitate and start baking today! Just remember to follow the instructions carefully, use high-quality ingredients and have fun creating your own chocolate band layer cake masterpiece. I guarantee your taste buds will thank you for it!
Chocolate Band Layer Cake Recipe
Ingredients
- three different chocolate box cake mix
- nutella
- 12 ounces bittersweet chocolate, chopped (could be more depending on how big your cakes are)
- paraffin wax, strips
Instructions
- Follow box instructions for all three chocolate cakes and make accordingly.
- after baking transfer pans to a wirerack andcool for 20 minutes.
- invert the cakes onto the rack, remove the pans and let cool completely.
- with round cookie cutter of your choice in size cut cake layers being sure to use the same size cookie cutter for all layers so they stack evenly
- place all the first chocolate precut layer on a serving rack and evenly spread melted nutella over top.
- top with second chocolate precut layer and spread the top of the second layer with melted nutella (its ok if it drips down the sides a bit).
- top with third chocolate precut layer and let the layers sit in the refrigerator for 5 minutes.
- chocolate band.
- measure the circumference of your cake and cut wax strips to fit around your stacked cake being sure to make strips a bit taller than your stacks.
- Line large baking sheet with foil; set aside. Place another large sheet of foil on work surface; place waxed paper strips atop foil, spacing apart. Stir chocolate in medium bowl set over pan of simmering water until smooth. Pour half of melted chocolate down center of each pre-measured waxed paper strip. Using small offset spatula, spread chocolate to cover strips evenly, allowing some of chocolate to extend beyond edges of paper strips, making sure strips are completely covered. Using fingertips, lift strips and place on foil-lined sheet. Chill until chocolate just begins to set but is still completely flexible, about 2 minutes.
- Wrap band around cake, waxed-paper side out, lining up 1 long edge with bottom of cake (band will be higher than cake). If bands overlap, trim any excess paper and chocolate. Using fingertips, press top edge of band in toward cake, forming slight ruffle. Chill until chocolate sets, 5 minutes. Gently peel off waxed paper. Chill cake. DO AHEAD Can be made 1 day ahead. Chill.
- I like to top my cake with fresh or glazed fruits!
Your Own Notes
Nutrition
Recommended Recipes Just For You

Steven is a chef by heritage, so it’s no wonder why baking is such a big part of who he is. To share his passion for all things sweet, he created cookiesncrepes.com. It’s the perfect platform to indulge in delicious treats, all with a sprinkle of his signature flare.