Delight in Every Bite: Mochiko Cake Recipe
Are you ready to taste a sweet and savory treat that will transport you straight to the sun-kissed beaches of Hawaii? Look no further than this mochiko cake recipe – a deliciously gluten-free dessert that is perfect for any occasion.
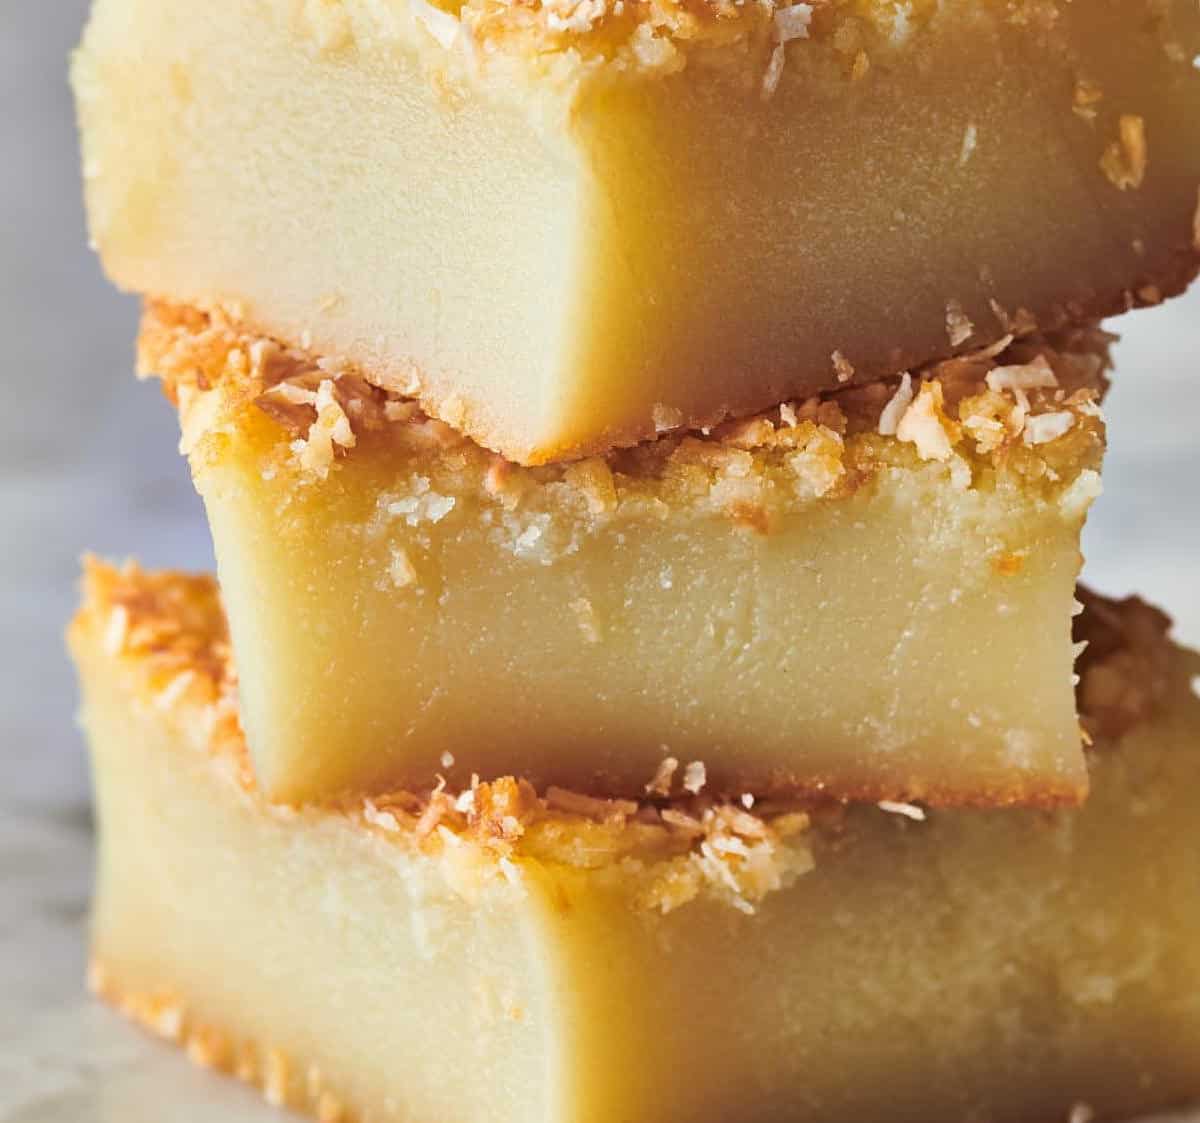
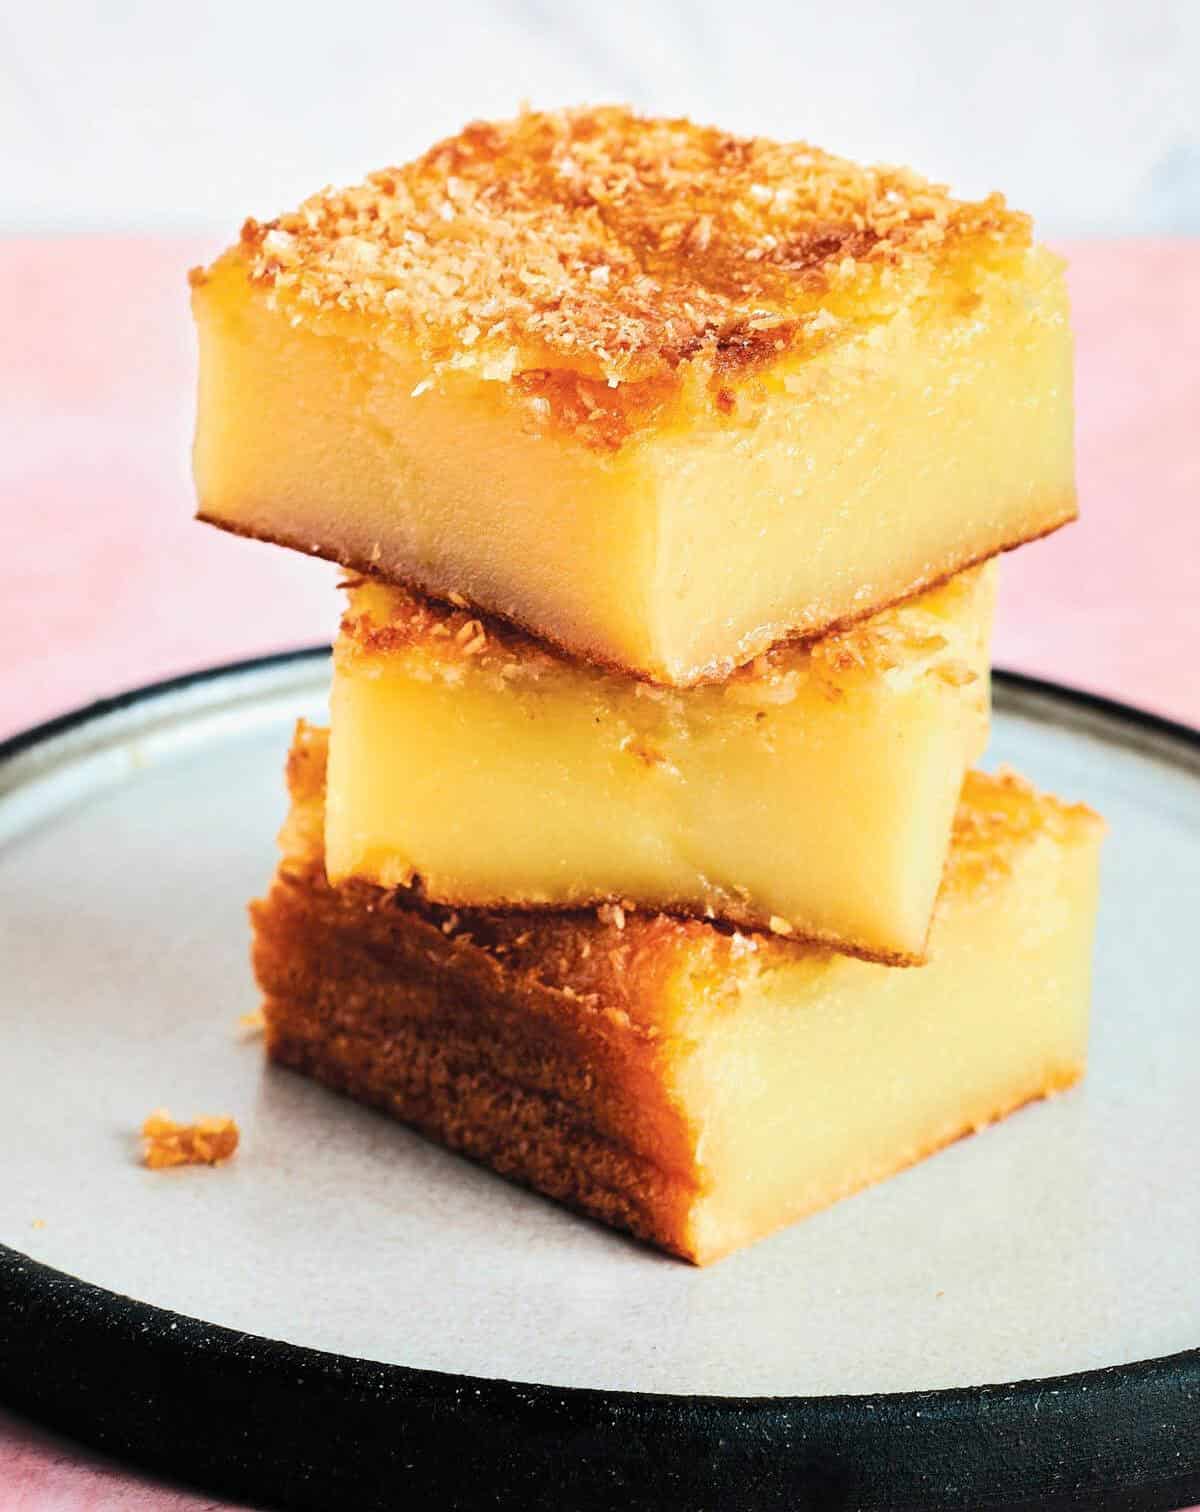
Mochiko cake, also known as butter mochi or coconut mochi, is a classic Hawaiian dessert made with sweet glutinous rice flour, coconut milk, sugar, and eggs. Its texture is uniquely delightful – dense and chewy, yet soft and fluffy at the same time.
As an articulative assistant for your baker, I am here to share with you my personal tips and tricks for creating the best mochiko cake ever. This recipe is easy to follow, requiring only simple ingredients that can be easily found at your local grocery store or online.
Whether you’re a fan of classic Hawaiian flavors like coconut and taro, or more adventurous tastes like ube and green tea, this recipe can be adapted to your liking. Prepare it for your next family gathering, birthday party or just as a personal indulgence. Trust me – one bite of this amazing mochiko cake and you’ll feel like you’ve been transported right to Honolulu!
Why You’ll Love This Recipe

Listen up, fellow dessert lovers! I’m here to tell you about a recipe that will knock your socks off: Mochiko Cake. You might be thinking, “What’s so special about this cake?” Well, let me tell you, it’s a delightful treat that is sure to have you coming back for more.
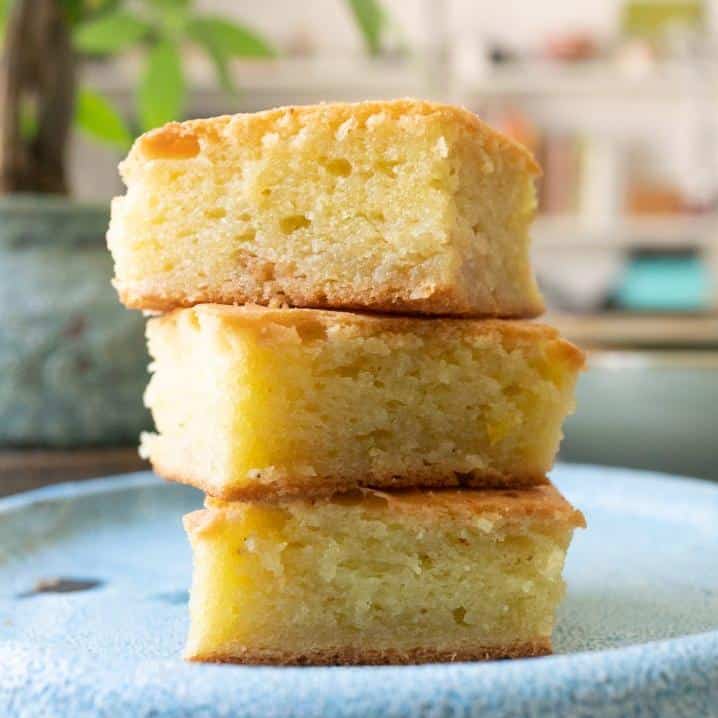
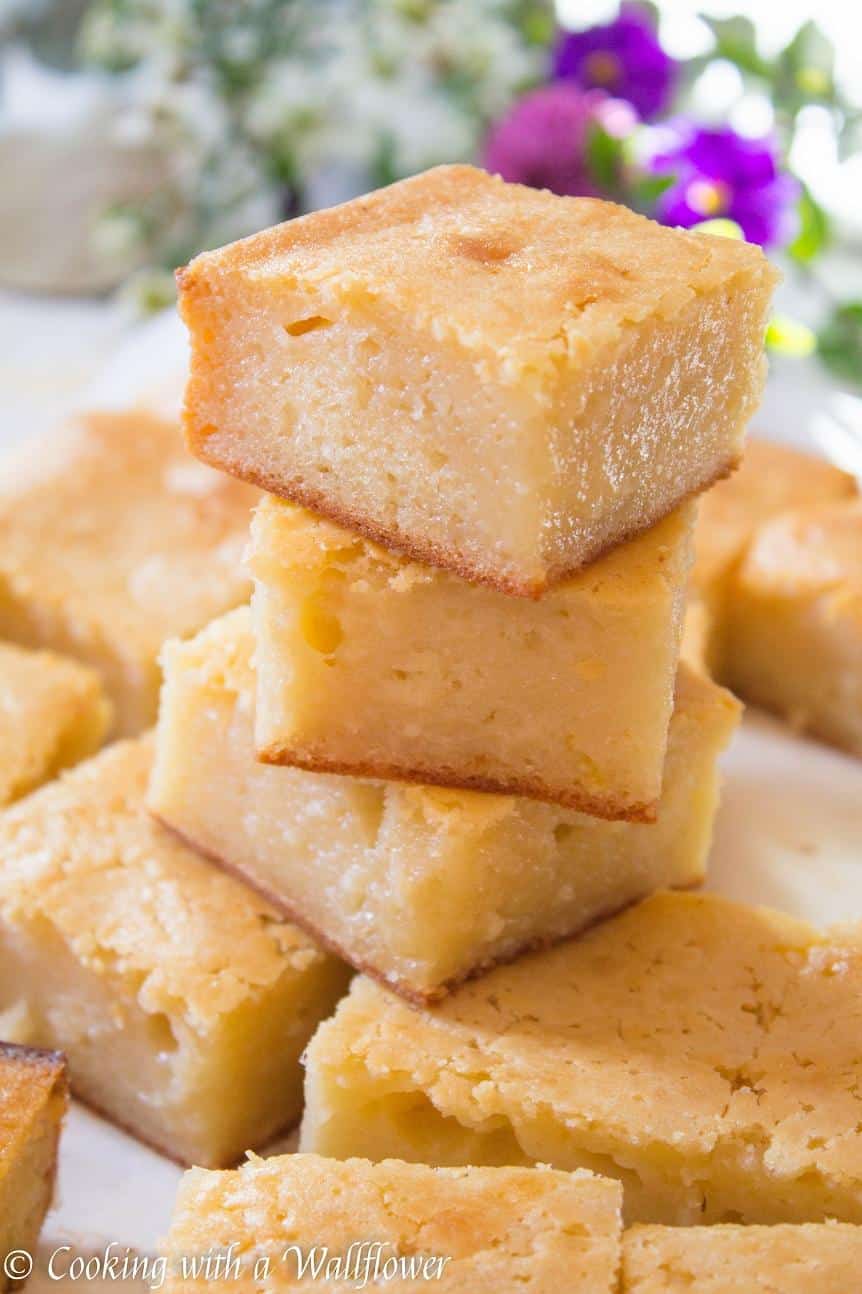
The reason why you’ll love this recipe is simple – it’s a combination of two things everyone loves: cake and mochi. This cake has a soft and chewy texture that melts in your mouth and leaves you craving for more. It is made with sweet glutinous rice flour, coconut milk, sugar, eggs, butter mochi, and vanilla extract, resulting in a unique and irresistible flavor.
If you’re looking for something that’s gluten-free or easy to make, then this is the cake for you. It can be whipped up in no time with just a handful of ingredients from your pantry. And if that wasn’t enough, it’s also versatile in terms of flavors. You can add sesame seeds, blueberries, red beans, ube, matcha powder or just about any fruit you want to customize the cake to your taste preference.
Craving something sweet? Do yourself a favor and take a whack at making this fantastic cake for yourself – you won’t regret it.
Ingredient List
Before we start making magic in the kitchen, let’s gather our ingredients. Mochiko cake is a traditional Hawaiian dessert that is made with mochiko glutinous rice flour – so make sure you have it ready. If you don’t find that specific flour, you can use sweet rice flour or glutinous rice flour, but unlike mochiko flour, these other two brands may need to be soaked overnight. To make about 12 servings of this buttery and delicious cake recipe, gather the following ingredients:
- Mochiko Glutenous Rice Flour: The essential ingredient for this recipe. You will need two cups of mochiko flour to get the perfect texture for your cake.
- Baking Powder: This leavening agent will help your cake rise beautifully. You will need one teaspoon of baking powder.
- Granulated Sugar: Adds sweetness to the cake. You will need two cups of granulated sugar.
- Butter: Unsalted butter is used for a rich flavor and creamy texture. You will need one cup of unsalted butter.
- Eggs: Helps to bind ingredients and provide structure to your cake. You will need four large eggs.
- Coconut Milk: Adds creaminess and authentic Hawaiian flavor, you’ll need one can (13.5 ounces) of coconut milk.
- Vanilla Extract: A little bit goes a long way in enhancing the flavors in this recipe. You’ll only need one teaspoon of vanilla extract.
Now that you’ve got all your ingredients laid out, let’s start making some magic happen!
The Recipe How-To
Now this is where the magic happens. Are you ready to get baking? Follow these simple steps to create your very own Hawaiian Butter Mochi Cake.
Step 1: Preheat your oven and prepare your pan
First things first, preheat your oven to 350°F. While the oven is heating, generously butter a 9×13 inch baking dish.
Step 2: Melt the butter and combine ingredients
Once the oven is preheated and the pan is prepared, melt unsalted butter in a medium-sized saucepan over low heat. Once melted, remove from heat and add sweetened condensed milk, evaporated milk, and frozen coconut milk (that’s been thawed) to it. Combine well.
Step 3: Mix dry ingredients
In a separate large bowl, whisk together mochiko sweet rice flour, granulated sugar, and baking powder until everything is evenly mixed.
Step 4: Add eggs, vanilla extract, and sesame seeds
Whisk in the large eggs , one at a time, into the same large bowl as step three then add in the melted mixture from step two as well as the vanilla extract. Mix until smooth. Add in some sesame seeds for an extra touch of flavor.
Step 5: Combine both mixtures
Next, pour the contents of the medium-sized saucepan into the same mixing bowl that contains all other ingredients from steps three and four. Stir everything together until they’re thoroughly combined into a batter.
Step 6: Pour batter into pan
Pour this cake batter into your prepared baking dish from step one.
Step 7: Bake
Place your soon-to-be epic creation in your preheated oven for around an hour or until the cake turns golden brown on top.
Step 8: Let it cool before slicing
Once done, take it out of the oven and place it over a wire rack. Let it cool down before slicing it up because trust me — it will be worth that little extra wait.
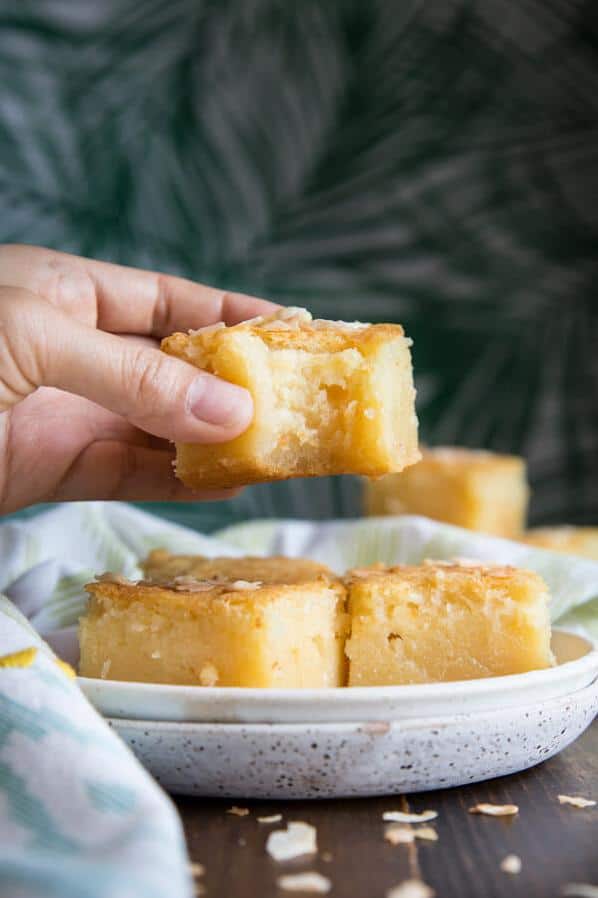
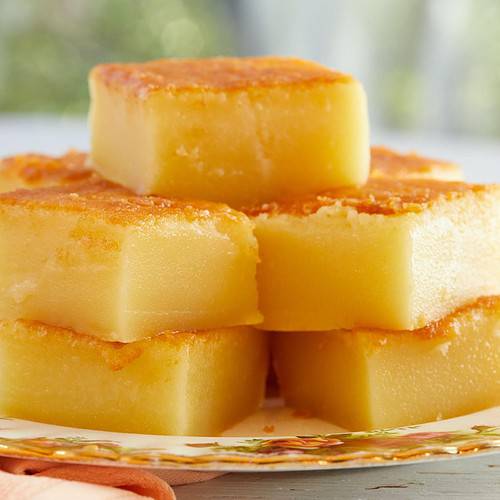
And voila! You just made yourself some mouth-watering Hawaiian Butter Mochi Cake. Enjoy every bite of that deliciously soft and chewy texture.
Substitutions and Variations
A wise person once said, “Variety is the spice of life.” Well, that definitely applies to the world of baking, especially when it comes to mochi cakes. While this Mochiko Cake Recipe is already pretty tasty on its own, you can take it up a notch by experimenting with different ingredients and flavors.
First things first; some substitutions can be made if you’re missing some ingredients. If you don’t have Mochiko flour or sweet rice flour handy, you can try using regular rice flour as a substitute. However, note that using regular rice flour may result in a slightly different texture than the original butter mochi recipe. You can also swap out the coconut milk for whole milk if needed.
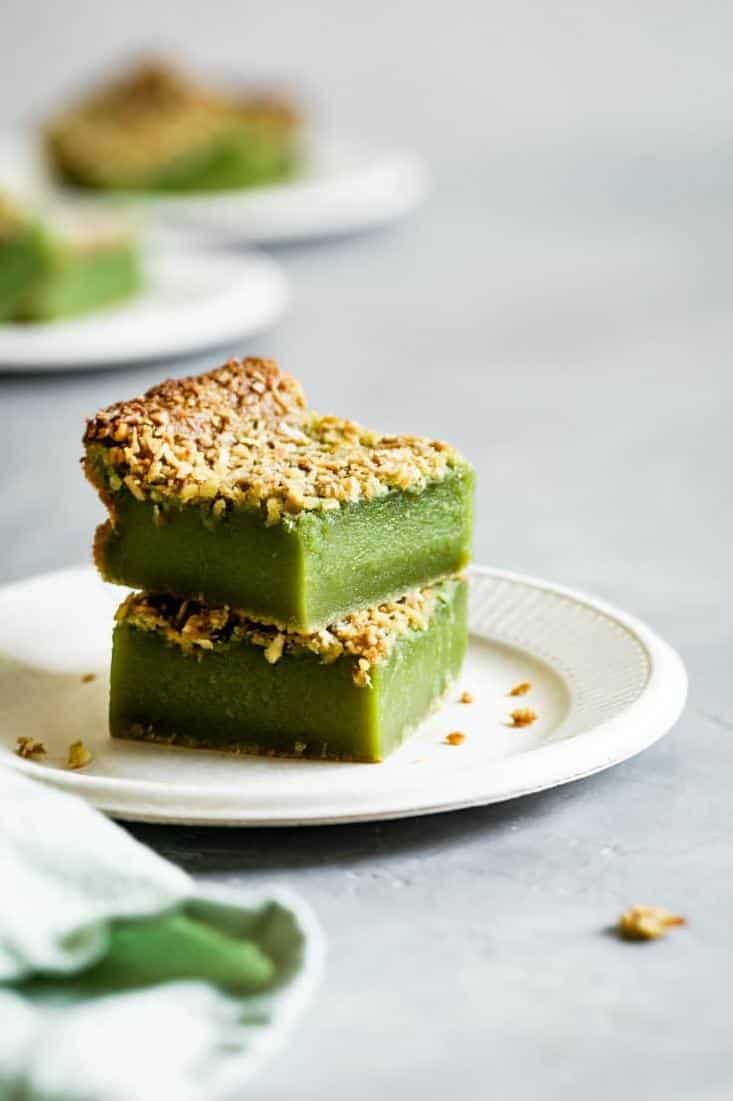
Now, let’s talk variations. Imagine all the possibilities! For example, for a Japanese twist, try adding red bean paste or even matcha powder for a subtle green tea flavor. For a fruity punch, add some banana, strawberry or mango puree right into the cake batter. Ube lovers will adore using grated ube (purple yam) on this mochi cake recipe to give it an unctuous purple hue.
If chocolate is your thing, you can explore using cacao powder or melting some chocolate chips into the batter. Blueberry fanatics might want to sprinkle in fresh blueberries into the mix after folding in the eggs.
For those vegan bakers looking for substitutions: coconut oil and applesauce make excellent butter substitutes and vegan eggnog works perfectly as a non-dairy alternative.
The possibilities are endless with this sweet glutinous rice cake! Have fun experimenting with variations and create your delectable mochi cake masterpiece.
Serving and Pairing
I don’t mean to toot my own horn, but when it comes to serving and pairing the delicate mochi cake, I have a few tricks up my sleeve. Picture this – a warm, golden-hued butter mochi cake, fresh out of the oven, gently emanating the scent of toasted sesame seeds and melted butter. Now, what could possibly be better than that?
First things first. I like to serve this cake while it’s still slightly warm, so it’s moist and gooey on the inside yet crusty on the outside, providing a satisfying textural contrast. To complete the dessert, sprinkle some toasted coconut flakes or sesame seeds over the top for a mildly nutty and tropical taste.
If you have guests over, serve them thick slices of this cake with a dollop of freshly whipped cream or some vanilla ice cream on the side. The slightly salty flavor profile of the mochi will play with the creamy sweetness wonderfully making your guests ask for seconds.
But maybe you’re more into tea than ice cream? Not to worry! Mochi cake pairs perfectly with a cup of green tea or matcha latte. The sweetness of the mochi is beautifully balanced by the earthy bitterness of the tea, creating what I like to call a “tea party in your mouth”. If you’re feeling adventurous try one of these unique variations: red bean and matcha latte, ube milk and blueberry tea, or taro bubble tea.
In summary, from ice cream to tea pairings (even Japanese red bean if you’re feeling game), there are endless delicious ways to enjoy this Hawaiian treat. Let your palate guide you and indulge in this unique dessert experience.
Make-Ahead, Storing and Reheating
There’s nothing quite like a fresh, homemade mochi cake, but luckily this recipe doesn’t sacrifice taste for convenience. Preparing this dessert ahead of time is a breeze, making it the perfect addition to any dinner party or special occasion.
To make ahead, bake the cake as directed and allow it to cool completely. Wrap it tightly in plastic wrap or aluminum foil and store it in the refrigerator for up to 3-4 days for optimal freshness. You can also freeze the cake for up to 1 month by wrapping it tightly in plastic wrap and then aluminum foil.
Reheating mochi cake is easy as well. Whether you’re taking frozen leftovers from the freezer or eating cake that’s been stored in the fridge, preheat the oven at 350°F and bake your mochi cake for roughly 10-15 minutes until warmed through.
If you want an even quicker way to reheat small portions of cake, simply microwave them for about 10 seconds – but be warned, this can make your mochi get slightly sticky on the outer layer.
Serve your reheated mochi cake with fresh fruit on top or alongside some whipped cream and enjoy!
Tips for Perfect Results
Now, let me share with you some tips that will guarantee perfect results for this Mochiko Cake Recipe.
First and foremost, when it comes to baking with glutinous rice flour, accuracy is key. Make sure to accurately measure the ingredients according to the recipe guidelines. You could use a digital scale to ensure that the measurements are precise; this will prevent the cake from being too dry or too hard.
Secondly, before adding in the dry ingredients to the wet mixture, sift them together in a separate bowl. This will ensure that your Mochiko cake batter is evenly blended and free of lumps.
Thirdly, don’t skip on the step of melting the butter and cooling it down. Room temperature or melted butter can adversely affect your cake’s texture and density.
Fourthly, after taking your Mochiko cake out of the oven, immediately place it on a wire rack to cool down for about 10-15 minutes. This allows it to slightly deflate and become chewier; this is precisely what we want in a Mochiko cake.
Fifthly, if you’re feeling adventurous and want to try out different flavors, go ahead! You can add sesame seeds, chocolate chips or ube extract which will change up the taste while still keeping it true to its Hawaiian roots. Keep in mind that if you do any substitution or add-ins of any kind it may change the texture and density of your cake so experiment prudently.
Lastly, storing Mochiko Cake gets tricky especially since accidents happen easily with sticky cakes like these ones. In order to keep your cake from drying out and sticking together wrap them up tightly in plastic wrap or aluminum foil before putting them into an air-tight container or plastic bag in a way that doesn’t smash it down too much. Stores well at room temperature without refrigeration for up to five days.
Don’t forget to apply these tips in your next baking adventure using our Mochiko Cake Recipe; you’re guaranteed success!
Bottom Line
In conclusion, the Mochiko Cake recipe is a delicious and unique dessert that you won’t want to miss out on. This Hawaiian classic can be easily made at home with a few simple ingredients and a bit of know-how. Whether you’re looking for a new and interesting way to impress your friends at your next potluck or just want to treat yourself to a sweet and satisfying indulgence, this recipe is definitely worth trying.
With its soft and chewy texture, sweet aroma, and rich buttery flavor, the Mochiko Cake is sure to delight both young and old. And thanks to the many variations that are possible with this recipe, including coconut, chocolate, ube, strawberry, and more, you can easily customize it to your own tastes and preferences.
So why wait? Head into your kitchen today and whip up a batch of this irresistible dessert. I guarantee that you won’t regret it!
Mochiko Cake Recipe
Ingredients
- 1 lb mochiko sweet rice flour
- 2 1/2 cups sugar
- 1 tablespoon baking powder
- 1/2 cup butter, melted (1 block)
- 1 (12 ounce) can frozen coconut milk, thawed
- 5 eggs, slightly beaten
- 2 teaspoons vanilla extract
- 1 tablespoon sesame seeds
Instructions
- Preheat oven to 350 degrees.
- Combine flour, sugar and baking powder; set aside.
- Combine butter, coconut milk, eggs and vanilla; add to flour mixture and mix well.
- Pour into greased 9 x 13-inch baking pan.
- Sprinkle sesame seeds evenly on top.
- Bake for 1 hour.
Your Own Notes
Nutrition
Recommended Recipes Just For You

Steven is a chef by heritage, so it’s no wonder why baking is such a big part of who he is. To share his passion for all things sweet, he created cookiesncrepes.com. It’s the perfect platform to indulge in delicious treats, all with a sprinkle of his signature flare.