Deliciously Spiced Gingerbread Castle Recipe for Holidays
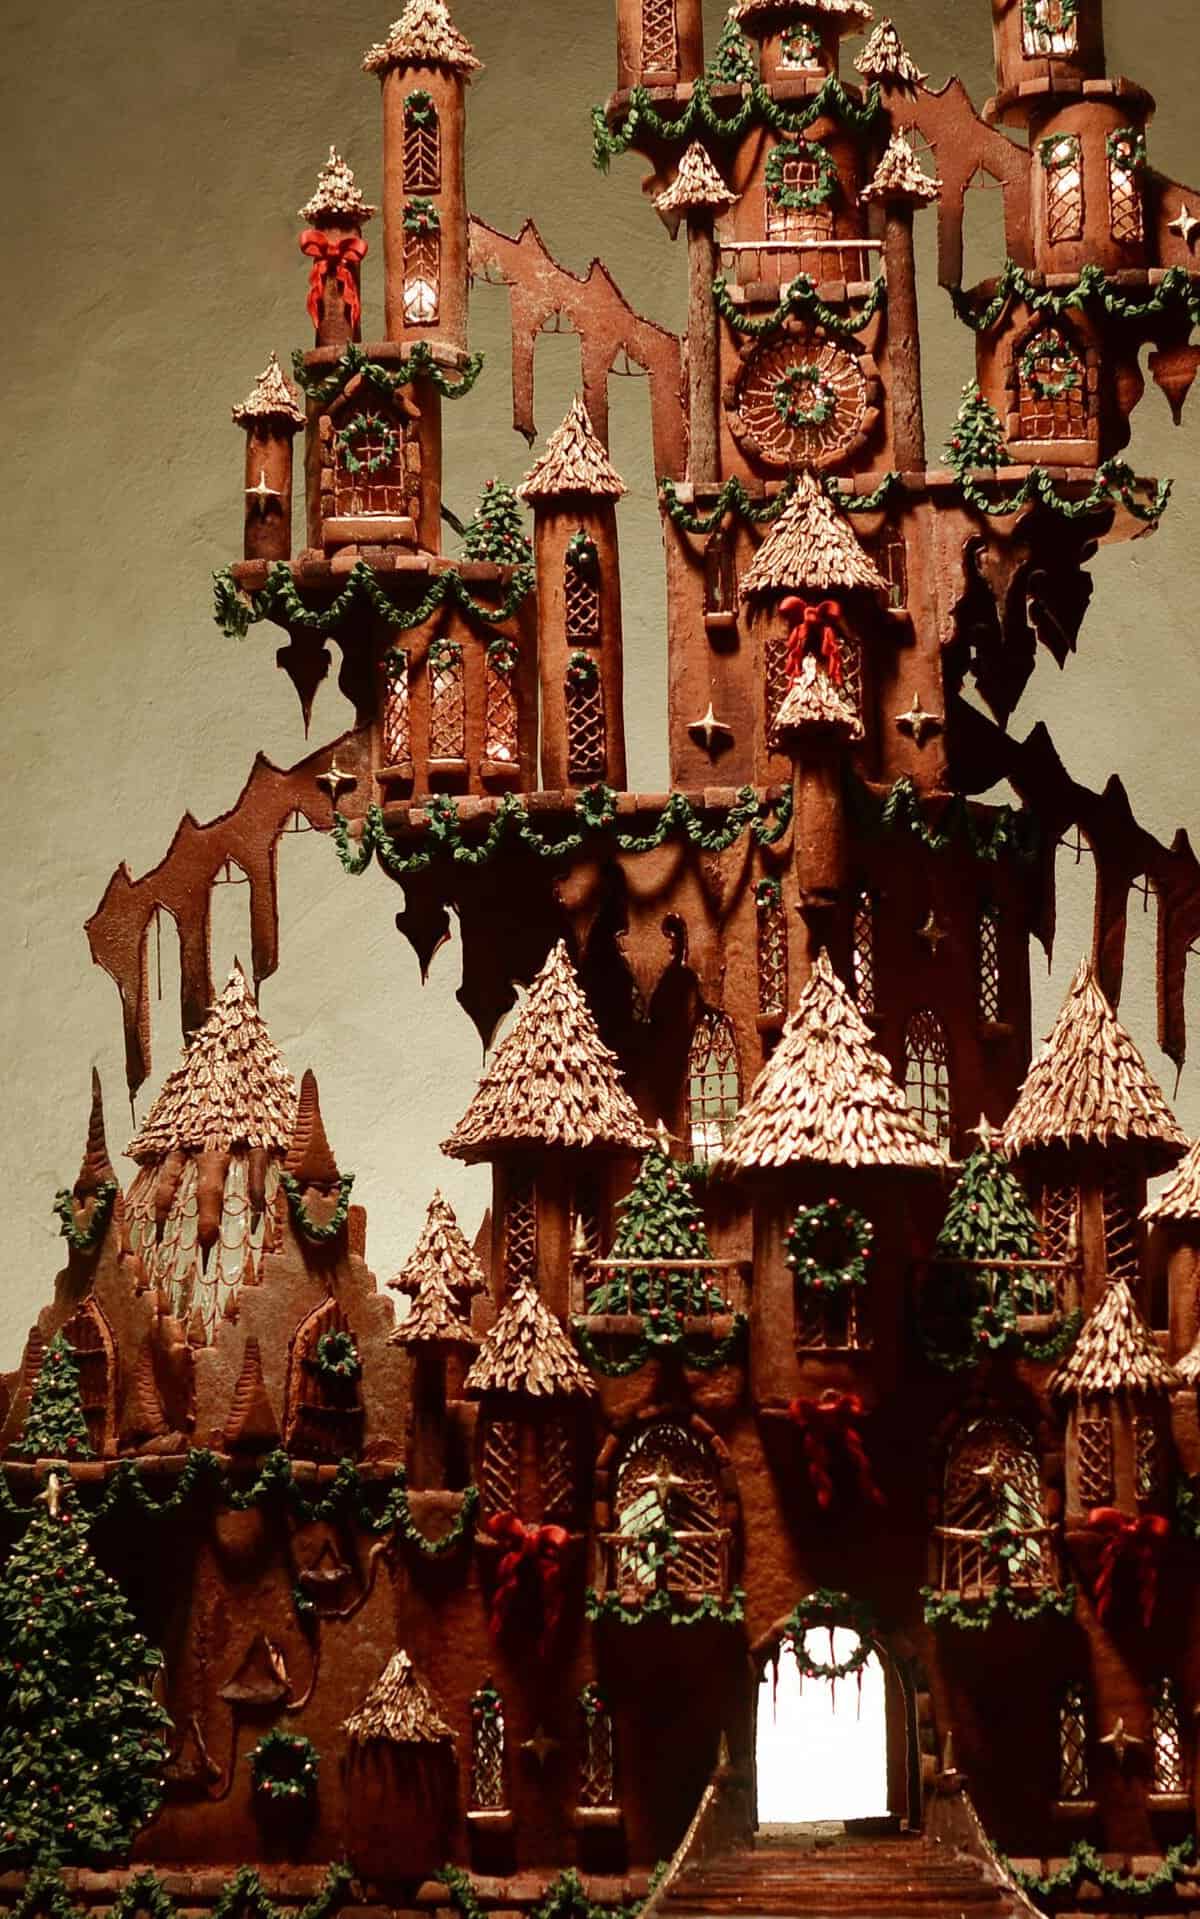
As a lover of all things sweet and whimsical, I couldn’t help but share with you my favorite recipe for a magical Gingerbread Castle. There’s something about gingerbread that just screams holiday cheer, and this recipe is no exception. But what sets it apart from your average gingerbread house is its grandeur – this is no modest cottage made of cookies but rather a towering masterpiece fit for a fairytale princess.
And believe me, there’s nothing quite like seeing the eyes of your loved ones light up as they gaze upon this creation. Whether you’re hosting a holiday party or simply looking for a festive baking project to do with the kids, this Gingerbread Castle is sure to delight.
But don’t be intimidated – while it may look daunting, making gingerbread houses (and castles!) is easier than you might think. With a few basic ingredients and some creativity, you’ll have your very own fortress in no time.
So without further ado, let’s dive into what makes this recipe so special and how you can create your own Gingerbread Castle that will leave your guests in awe.
Why You’ll Love This Recipe
As soon as the air gets chilly and the holidays approach, there is nothing as festive and heartwarming as a freshly baked gingerbread castle. This recipe for a Gingerbread Castle Cake is a classic hit that will make you fall in love with gingerbread all over again.
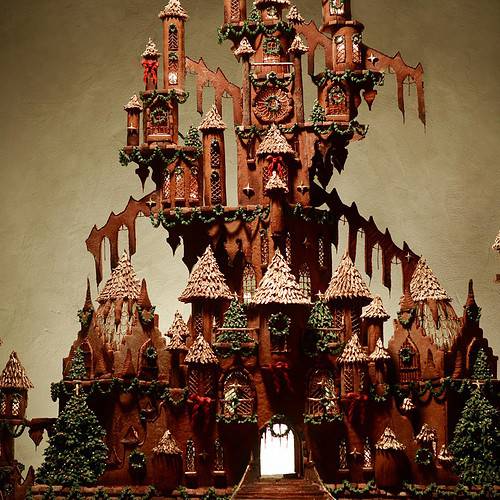
What makes this recipe truly special is its intricate design that resembles a castle, which is ideal if you want to create a showstopper for your holiday party. It’s an impressive centerpiece that not only looks gorgeous, but it tastes equally delicious.
The base gingerbread cookie dough is infused with all the warm spices of the season, including cinnamon, allspice, ground ginger and cloves. I use unsalted butter, molasses, and brown sugar to add depth of flavor along with classic ingredients like flour, eggs, baking soda and baking powder. You’ll be surprised at how wonderfully fragrant it becomes once it’s out of the oven.
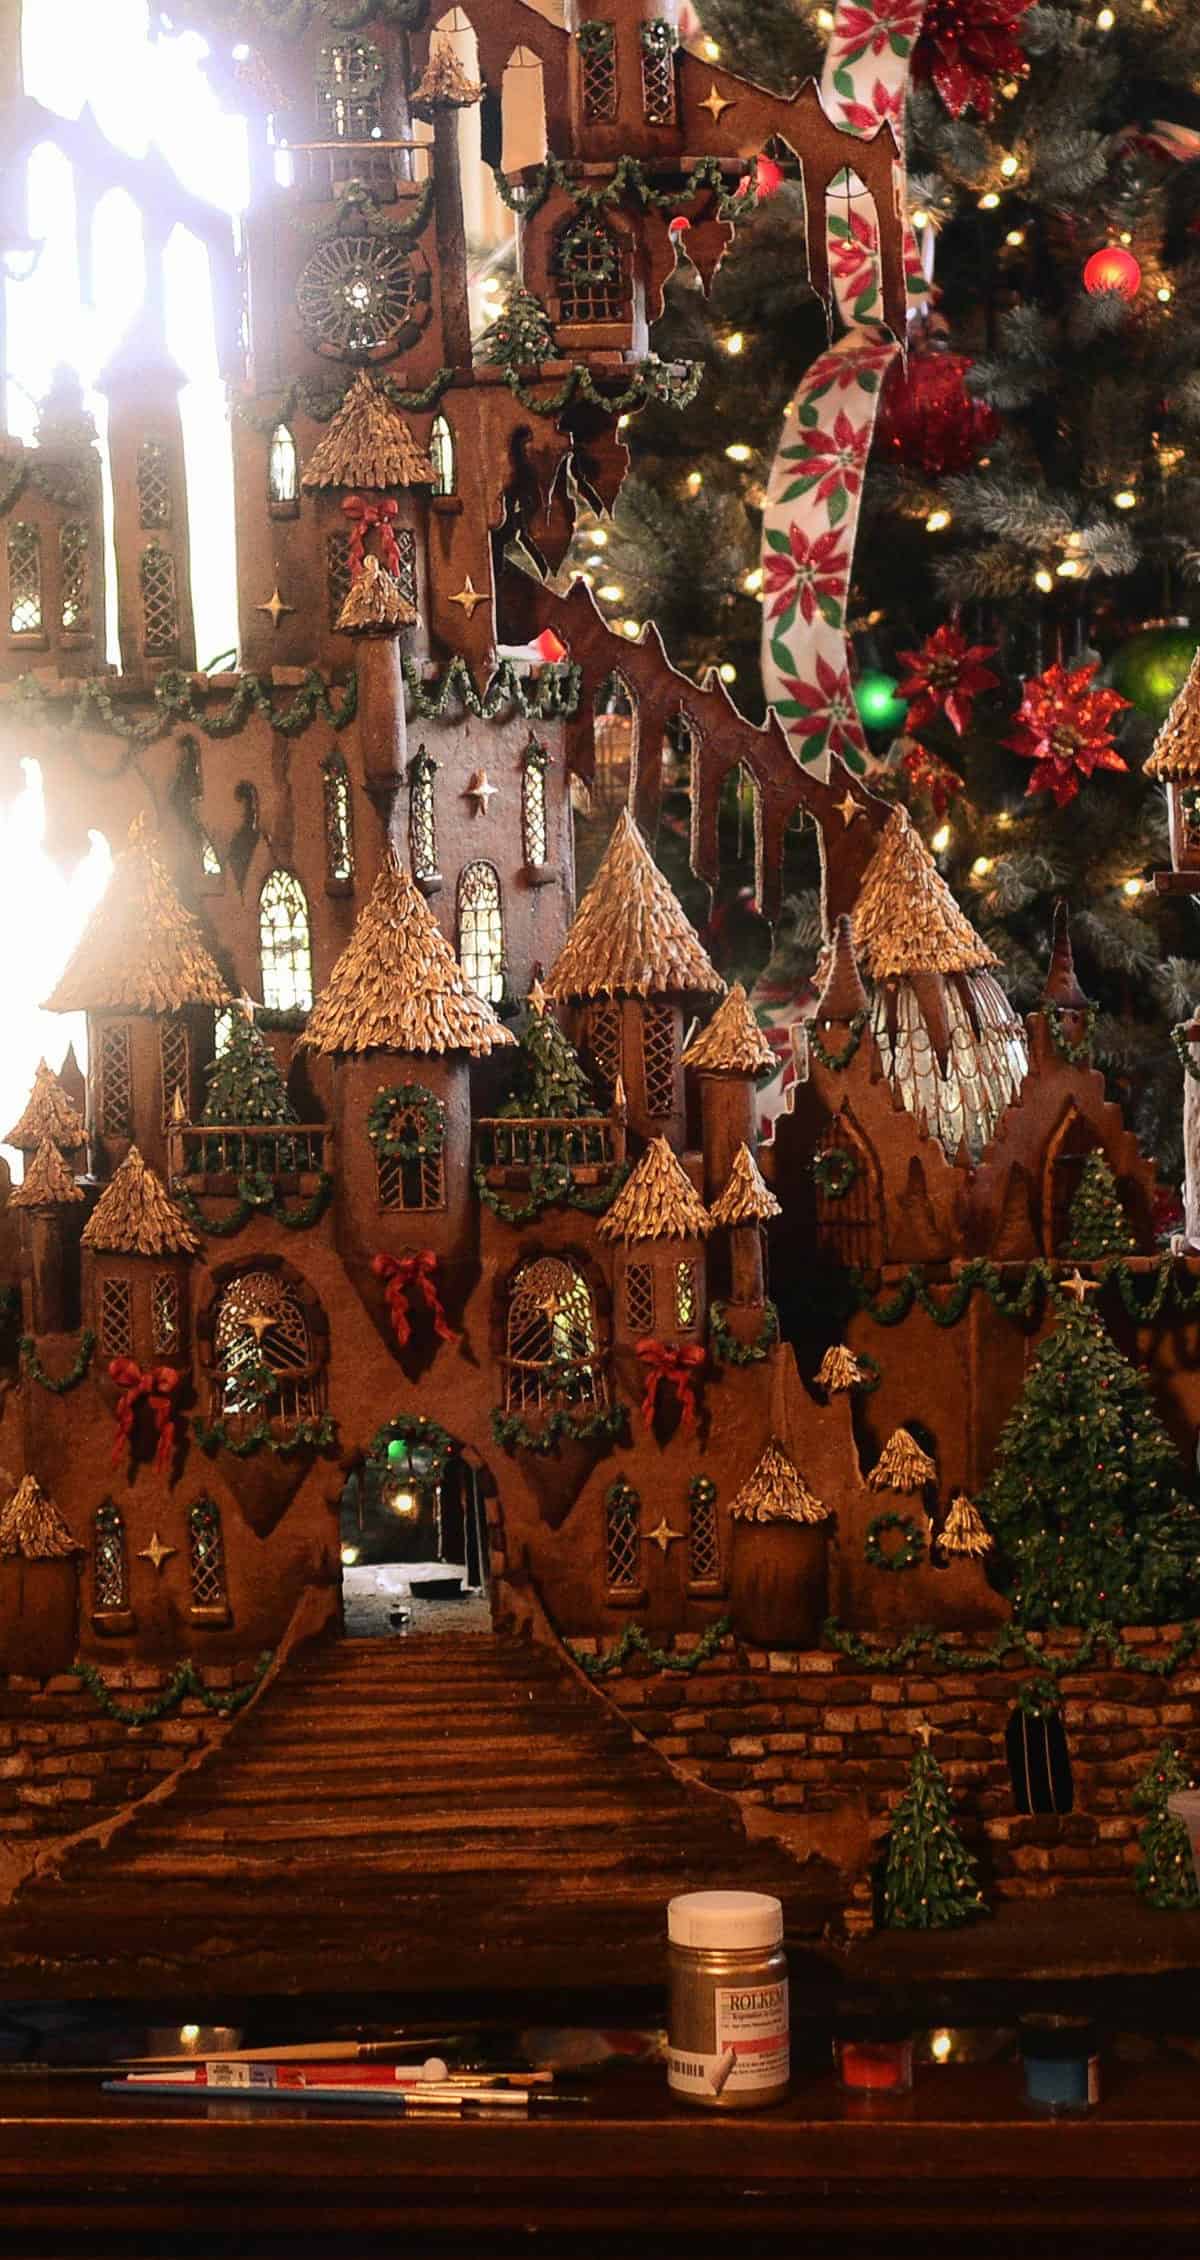
This cake recipe takes it up a notch by incorporating layers of royal icing sugar and gingerbread tower bridge made from ice-cream cones. That’s why it’s perfect for sharing with family and friends or even gifting to loved ones. Trust me, they’ll be wowed by how stunning it looks and tastes.
So what are you waiting for? Whip up this amazing Gingerbread Castle Cake and enjoy every bite!
Ingredient List
If you want to embark on a sweet adventure and create an impressive gingerbread castle cake, it’s important to have all of your ingredients assembled and ready. You’ll need all-purpose flour, brown sugar, unsalted butter, eggs, molasses, baking soda, baking powder, salt, ground ginger, allspice, clove, cinnamon, and nutmeg to make the base gingerbread cookie dough. Cream of tartar is a specialty ingredient that helps make the cookies crisp but isn’t completely necessary if you don’t have any on hand.
For the icing decorations and structural support of your gingerbread castle creation, you’ll need to gather these additional ingredients:
- Confectioners’ sugar
- Light corn syrup
- Water
- Vanilla (for flavor)
- Cocoa powder (for making chocolate royal icing)
- Parchment paper (for tracing and cutting out template pieces)
Also remember that you might need to adjust the amounts of certain ingredients depending on the specific gingerbread castle recipe you are following. So be sure to double-check the recipe beforehand!
The Recipe How-To
Now that you have sifted and whisked all the dry ingredients and also combined the wet ingredients, it is time to bring your gingerbread castle to life. In this section, I will outline a step-by-step guide of how to make the gingerbread castle.
Making the Gingerbread Dough
Step 1: Mix and Knead
After preheating your oven to 350°F (180°C), cream together 250 g of softened butter and 1 1/2 cups (300 g) of brown sugar using an electric mixer until light and fluffy. Then, continue mixing slowly while adding 3/4 cup (240 ml) of golden syrup and 5 tsp (25 ml) of water in a steady stream until fully combined.
In a separate bowl, sift together 6 cups (750 g) of plain flour, 4 teaspoons of ground ginger, 2 teaspoons of cinnamon, 1 teaspoon of allspice, 1 teaspoon of nutmeg, and 1 teaspoon of clove. Once you have sifted all the ingredients together, slowly stir in the dry ingredients into the creamy mixture just until well combined.
Next, transfer the dough onto a well-floured surface to knead. Be sure to knead until the dough is smooth with no cracks or hints of stickiness.
Step 2: Roll Out the Dough
Take about half of your gingerbread dough and place it between two parchment papers. Using a rolling pin, roll out your dough to achieve an even thickness.
Preheat your oven to 160°C / 325°F/gas mark 3. Line two large trays with baking parchment, then using a template cut out each house shape with a sharp knife on one piece before baking., then cut out its corresponding roof and windows using either cookie cutters or a sharp knife.
Place on baking sheets lined with baking parchment and cook for around 14 mins until lightly golden brown. Repeat by rolling out the remaining dough for more castle pieces as desired.
Baking Your Gingerbread Castle
After cutting out your gingerbread pieces to size using a template, place them on lined baking sheets and bake them at 350°F for about 12-15 minutes or until lightly browned at the edges.
Always keep an eye on your creations; don’t let them overcook or they’ll become too hard.
Assemble Your Gingerbread Castle
Give yourself ample space for decorating before you begin assembling.
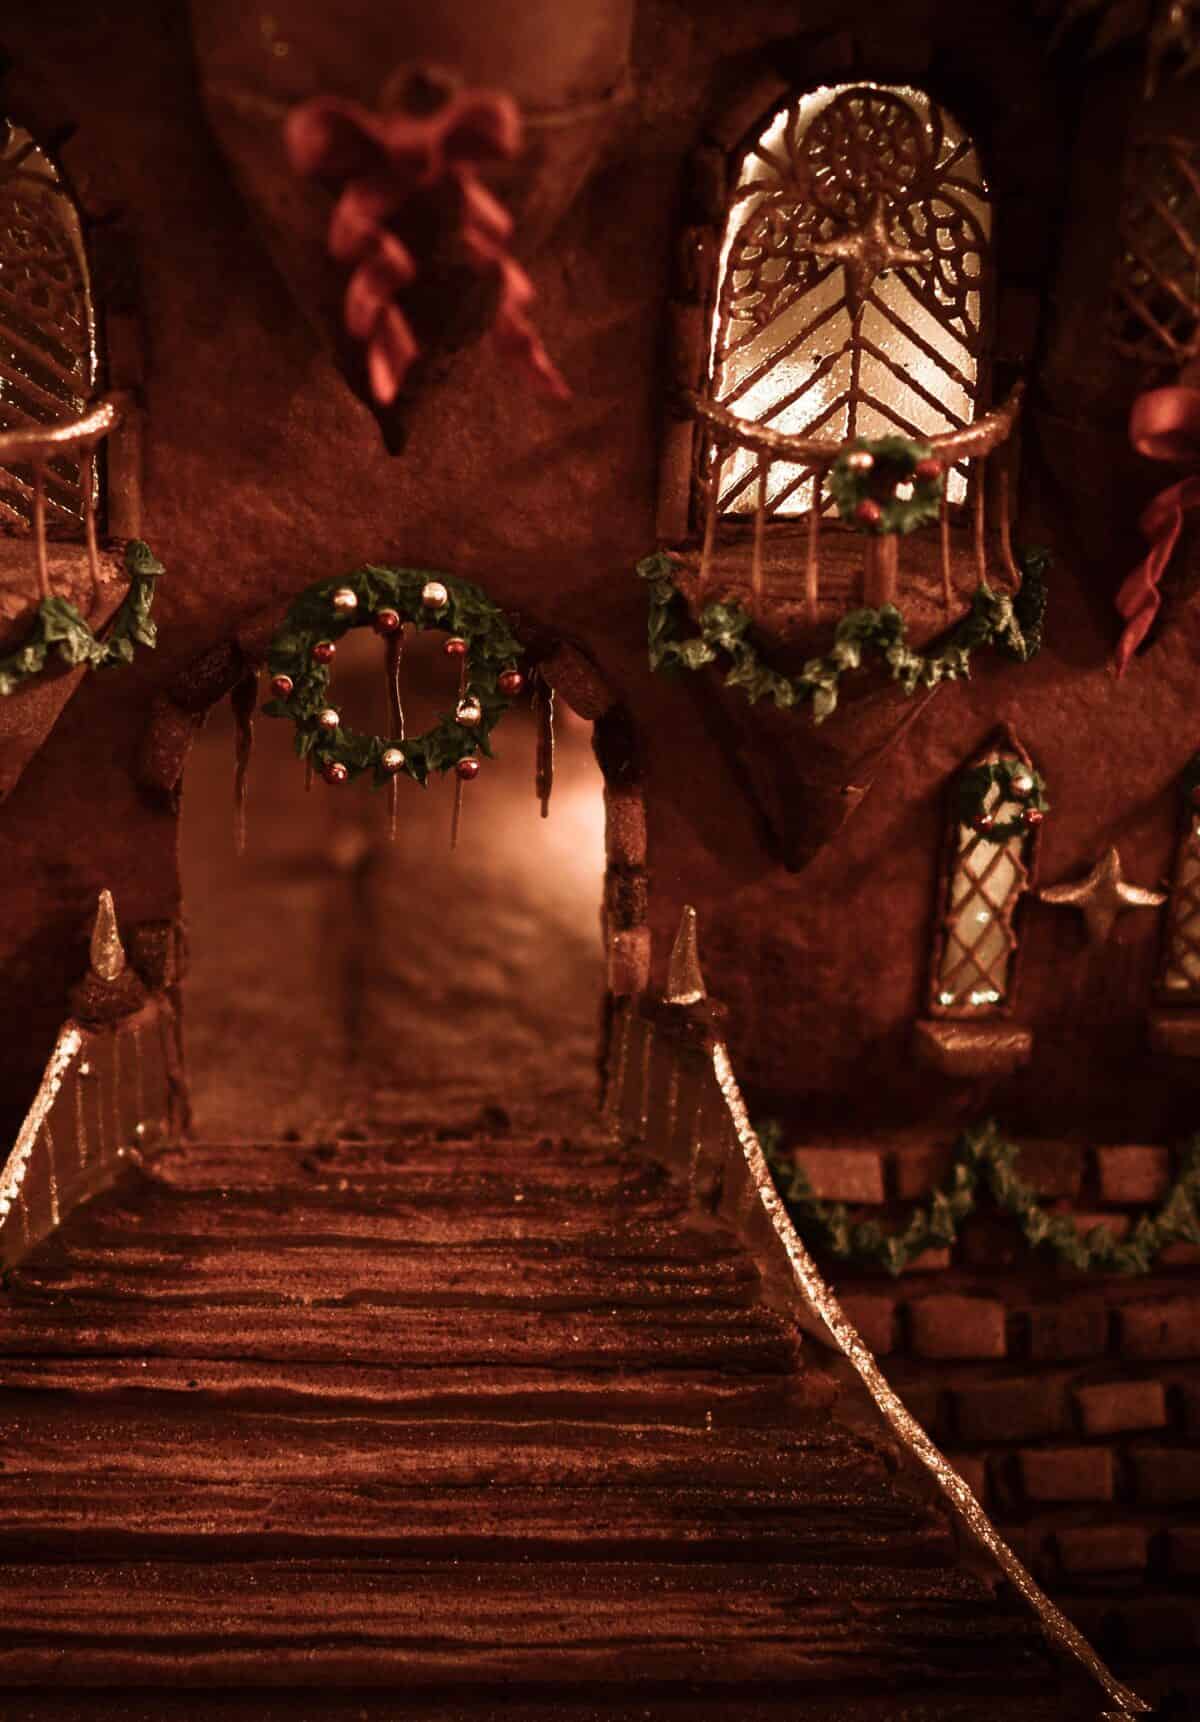
Simply use royal icing as glue to assemble each part securely together. Start from the base gingerbread cookie dough for forming walls around towers and creativity comes in when incorporating ice cream cones as turrets or towers.
We recommend holding off on adding decorative touches like icing piped “buttons” or gumdrop “bushes” until after you’ve assembled your house so as not to mar them while you work.
Congratulations! You now have an amazing gingerbread castle!
Substitutions and Variations
Are you looking to mix things up with your Gingerbread Castle Recipe? Look no further! Here are some substitutions and variations to try out:
– Gluten-Free: Swap out the all-purpose flour for a gluten-free flour blend. You may need to adjust the liquid ratios slightly for the dough to come together properly.
– Vegan: Substitute the eggs with a flax egg (1 tablespoon ground flaxseed mixed with 3 tablespoons of water) in the gingerbread dough recipe. Use vegan butter instead of unsalted butter, and corn syrup instead of honey.
– Chocolate Lovers: Add 1/4 cup cocoa powder to the gingerbread dough recipe for a chocolatey twist on this classic gingerbread castle cake.
– Spice It Up: Adjust the spice blend to your liking by adding more or less nutmeg, cinnamon, allspice, cloves, or ground ginger.
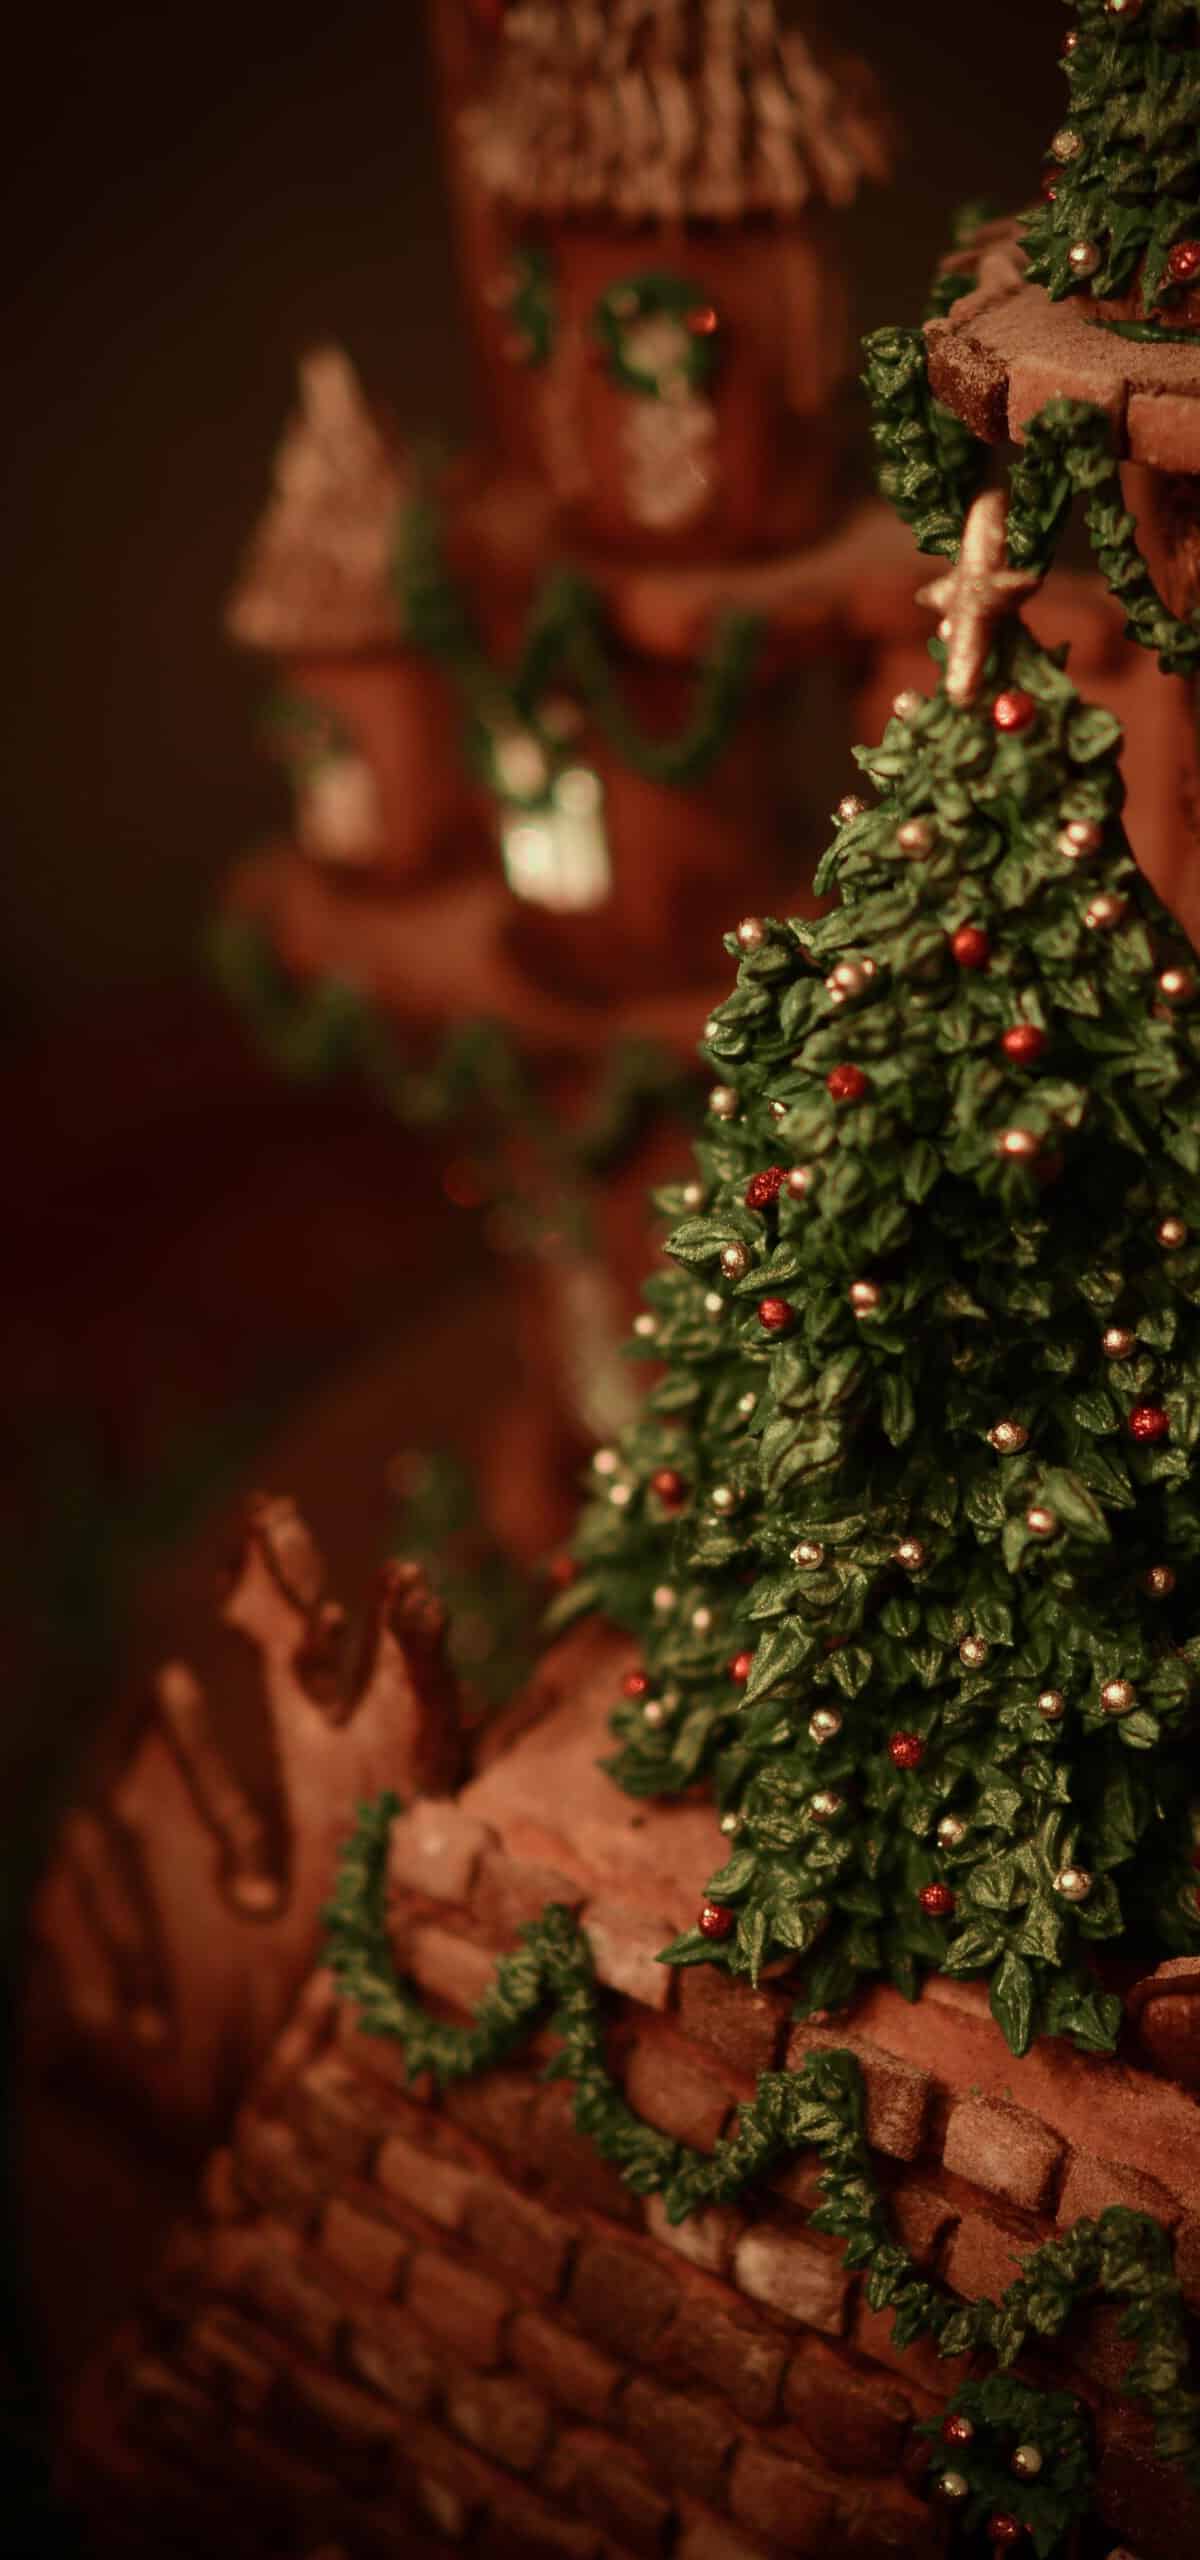
– Decorative Touches: Get creative with your decoration by turning your Gingerbread Castle into a Gingerbread Tower Bridge or creating a little village of small houses. Add some cookie snowmen or trees made out of icing sugar. The possibilities are endless!
Remember, while these substitutions can change the flavor, texture and visual impact of the recipe, always use quality ingredients because that will be reflected in the outcome.
Serving and Pairing

Once your gingerbread castle cake is baked to perfection and frosted with royal icing, it’s time to indulge in a slice of this delicious masterpiece. This delightful cake is perfect for serving at holiday parties, birthdays, or any special occasion.
The sweetness of the gingerbread is perfectly balanced with the rich frosting and will be sure to delight anyone who tries it. It’s especially perfect for serving with a cup of tea or coffee for an afternoon treat.
For a show-stopping presentation, you can decorate the top of the gingerbread castle cake with additional candies or other decorations. Consider adorning it with colorful sprinkles, edible glitter, or even adding miniature ice cream cones to create turrets or towers.
Pairing the gingerbread castle cake with ice cream is also a great idea. The creamy texture of the ice cream pairs exceptionally well with the gingery flavor of the cake. You can even place small scoops of ice cream on top of each slice for an extra decadent experience.
Finally, if you’re feeling adventurous, you can try pairing this cake with a sweet wine like sherry or dessert port. The complementary flavors will truly make this dessert shine and add an adult twist to this childhood favorite.
In conclusion, a slice of gingerbread castle cake is like biting into a piece of history and indulging in a fairy tale come to life. Whether served on its own or paired with other desserts and drinks, this cake will undoubtedly delight your guests and leave them wanting more!
Make-Ahead, Storing and Reheating

Making a gingerbread castle cake requires quite a bit of effort, and you wouldn’t want to eat it all in one go. Fortunately, this cake recipe can be made ahead of time and still taste as delicious as fresh.
To make the gingerbread castle cake ahead of time, bake the base gingerbread cookie dough or gingerbread tower bridge one to two days before assembling. Simply store the baked goods in the fridge inside an airtight container once they come at room temperature. Before assembly, you can warm them up for a few seconds in the microwave to soften their texture.
For those who want to save some more time later on, I suggest freezing the gingerbread castle pieces once they are baked, decorated with royal icing sugar and assembled together to create the finished gingerbread creation. Wrap each piece separately in parchment paper before storing them in an airtight container, and keep them in the freezer for up to six months.
If you decide to freeze your gingerbread castle cake pieces, make sure you bring them back to room temperature before reheating or serving. Again, microwave them for a few seconds just enough to get them warm without melting the decoration.
When it comes to storing any leftovers of this delicious gingerbread cake recipe, wrap your creation carefully with parchment paper or plastic wrap and then with aluminum foil in order to preserve its freshness. You can store it on your kitchen counter if you plan on consuming it within three days or refrigerate it if you will have no use for it within that duration.
To reheat leftover gingerbread castle pieces, put them back into the oven for around 5 minutes at 350°F or until nicely warmed through. Serve guests with vanilla ice cream cones along with some cream and icing sugar whipped together-which is what I like doing because the combination works perfectly well. The warm pieces complemented by cold vanilla ice cream cones recreate the just-made quality of this delightful dessert!
Tips for Perfect Results
As a seasoned baker, I’ve learned that many small things can make a big difference when it comes to making the perfect gingerbread castle. In this section, I’ll share some essential tips that will help you achieve great results with this recipe every time.
Firstly, let’s talk about ingredients. Always use high-quality ingredients and try to stick to the recipe. The choice of flour, spices and sweeteners has a significant impact on the final outcome. For instance, using dark brown sugar instead of light brown sugar can result in a darker, more intense flavour. Similarly, replacing molasses with golden syrup can give a lighter result.
Another essential tip is to chill the dough before rolling it out. This step is crucial in preventing the cookies from spreading or losing shape during baking. Roll the dough between two sheets of parchment paper so that it doesn’t stick to the surface, and then transfer it onto a baking sheet to be chilled.
One mistake many people make when making gingerbread houses or castles is not allowing enough time for the icing to dry before decorating further. To ensure that your structure stays up and doesn’t collapse, let each layer of icing dry completely before adding any further decorations or candies.
When assembling your gingerbread castle or house, use royal icing as glue. This type of icing will set hard and act as an adhesive between the cookie layers. Be generous with the icing, especially on structural points like corners and roof ridges.
Finally, don’t be afraid to get creative with decorations! From gumdrops and candy canes to pretzels and chocolate chips, there are countless possibilities for customizing your gingerbread castle. Use your imagination and let your creativity shine through!
By following these tips, you’ll be able to create a stunning gingerbread castle that guests will love admiring almost as much as they will love eating it!
FAQ
Now that you’re familiar with the ingredient list and steps to make this delicious gingerbread castle recipe, it’s time to address some common questions that may arise during the baking process. Whether you’re a novice baker or a seasoned one, these FAQs will help you achieve the best results possible. Read on for more information.
What makes gingerbread houses stick together?
When it comes to building gingerbread houses and creating intricate sugar decorations, royal icing is the go-to adhesive. This type of frosting dries to a hard consistency, making it the ideal choice for construction projects as opposed to traditional buttercream. In essence, it acts as an edible glue or mortar that holds everything together seamlessly.
What makes gingerbread so sturdy?
If you want to create gingerbread that is sturdy enough for building houses, then it’s essential to exclude the leavening agent. Essentially, while preparing the gingerbread batter, you need to leave out the baking soda and baking powder from the recipe. These elements are usually responsible for causing your baked goods to expand and rise during baking.
How to make curved gingerbread pieces?
If you have some extra gingerbread dough lying around, why not put it to use by making some curved pieces to decorate your baked goods? First, take a piece of gingerbread dough and roll it out until it’s of an appropriate thickness. Then, use a template of your choice – I recommend the shape of a front porch – to trace out the shape onto the dough. To achieve a curved shape, you can use an old cookie cutter that has a curved edge or simply cut out the shape from an old pop can. Once you have the necessary shape, place the dough over the metal and freeze it for around 20 minutes. This will help the dough hold its form and make it easier to handle while decorating your treats.
What is the best base for gingerbread house?
When building a sturdy gingerbread house, it’s essential to start with a robust foundation. You have two options for your base, either a sturdy piece of cardboard or a flat cookie sheet. Ensure that the base is thick and sturdy enough to hold the weight of the gingerbread pieces. To prevent sticking, consider lining the base with wax paper or aluminum foil. The next step is to mortar the sides of the house with royal icing. You can do this by piping a thick line of icing along one of the short ends of the side pieces. This will help hold the structure together and prevent any mishaps during the decorating process.
Bottom Line
:
Now that you know how to make an amazing Gingerbread Castle, I hope you’re feeling inspired to get baking! There’s nothing quite like the smell of gingerbread dough wafting through your kitchen, and the end result is sure to bring a smile to everyone’s faces – young and old alike.
Whether you’re hosting a holiday party, looking for a fun family activity, or simply want to challenge yourself with a new recipe, making a Gingerbread Castle is a wonderful way to celebrate the season. And once you’ve mastered this recipe, feel free to experiment with different shapes, sizes, and flavors – the possibilities are endless!
So grab your mixing bowl and get ready to build your very own gingerbread masterpiece. Whether you recreate the Tower Bridge or create your own unique castle design, I guarantee that this tasty treat will leave a lasting impression on all who see it. After all, as they say: “Life is short, so eat dessert first!”
Ingredients
GINGERBREAD
- 1 1/2 cups unsalted butter
- 1 1/2 cups brown sugar, packed
- 1 normal jar molasses
- 2 teaspoons salt
- 4 teaspoons cinnamon
- 4 teaspoons ground ginger
- 1/2 teaspoon allspice or 1/2 teaspoon clove
- 2 large eggs
- 7 cups all-purpose flour
CANDY GLASS
- 2 cups water
- 3 1/2 cups granulated sugar
- 1 cup light corn syrup
- 1/4 teaspoon cream of tartar
- blue food coloring
ROYAL ICING for GINGERBREAD CASTLE
- 3 1/2 cups confectioners' sugar
- 3 large egg whites
- 1/2 cup cocoa powder
- 1 teaspoon cinnamon
- 1/2 teaspoon nutmeg
- red food coloring (amount varies depending on desired shade)
- yellow food coloring (amount varies depending on desired shade)
- 1 drop black food coloring
- royal icing, for holly
- 4 cups confectioners' sugar
- 3 large egg whites
- 1 teaspoon vanilla
- green food coloring (amount varies)
- red food coloring (amount varies)
ADDITIONAL TOOLS
- parchment paper
- cardboard cutout stencils lightly dusted with flour
- multiple large baking sheet lightly dusted with flour
- painted wood board for displaying gingerbread
Instructions
- GINGERBREAD CASTLE:
- **For my gingerbread structures, I like to build their general shape out of cardboard first. This is a great way to address any structural issues before it's too late. They also give you an amazing stencil to use to cut out your cookie shapes and then later they're great for preventing any mess when you're pouring candy glass windows into your finished cookies.
- In a stand mixer beat butter and sugar until creamy, add molasses and eggs. In another bowl, mix all dry ingredients. Once done slowly mix into wet ingredients and stir until dough ball forms. Wrap softball sized portions in foil and chill until ready to use.
- Heat oven to 360 degrees fahrenheit.
- Line cookie sheets with parchment and roll dough directly onto cookie sheets. Using flour to prevent sticking. Cut out shapes using homemade stencils and save scraps for the next sheet.
- Baking time varies depending on how large your cookie is. Large cookies can take 18 minutes and small decorative pieces can be done in as little as 5 minutes. So keep an eye on them. Once baked, remove from oven (and here's my secret to getting a smooth cookie -- immediately after removing a batch from the oven, place a sheet of parchment over the top and using a slightly smaller baking sheet press, slide and swivel the smaller sheet on top until perfect. Allow cookies to cool before removing and place on paper towels. Do any candy glass windows BEFORE assembling.
- Advice and pointers: Assembling is my personal favorite part, but be sure to have a lot of patience and go slowly. Don't let go of any pieces unless you're positive they're secure and if you're unsure, use various kitchen items as supports -- things get pretty jenky in my kitchen during this process. Know that cookies will break here and there, make extra of critical pieces if you have the time and keep in mind you're doing something fun and when things go wrong, it's just a lesson for the future -- at least that's what I tell myself when I'm facing a kitchen catastrophe :D.
- CANDY GLASS:
- Mix sugar, water, corn syrup and tartar in a large pot on medium/high heat. Stir constantly until mixture begins to boil. Stop stirring and place candy thermometer on the edge of the pot with the temp gauge submerged into sugar syrup. This part takes FOREVER (20 or so minutes) so set up a chair next to the stove and grab a magazine/book/laptop and keep an eye on the thermometer. Allow to heat to 300 degrees and immediately remove from heat. Stir and mix in two drops blue food coloring. Have cookies clean and resting face up on a very flat surface covered in a aluminum foil. Use your cardboard stencil over your cookie and pour candy glass into your cutouts using a bent tea spoon or small ladle. Once poured, immediately lift stencil off and clear any sugar strands that occur.
- Advice and pointers: This is one of those things you should set a lot of time aside for and prepare yourself with a lot of patience. Having a plate warmer to set the pot of hot sugar on near your workstation is a great way to give yourself a bit more time to work with each batch. Depending on how many windows you have to do, you'll be needing to make several batches. As soon as one batch begins to harden, you need to cut your losses and discard it (I've learned this the hard way). This stuff is also INSANELY hot so be very careful and make sure no pets, children or other obstacles are around when working with candy glass!
- ROYAL ICING for GINGERBREAD CASTLE:
- ( I made this batch probably 6 times throughout the project).
- In a stand mixer beat egg whites till frothy and incorporate sugar until smooth. Then mix in the rest of the ingredients little bits at a time until the color you desire is achieved.
- Advice and pointers: Because you're using raw egg whites and salmonella is a risk, always use fresh eggs from a reliable source and don't allow unused frosting to sit out for more than an hour or so. Any unused frosting can be covered with a damp towel to prevent drying and retain freshness. Keep in mind the longer you work with a single batch the darker the color will become, so when initially mixing, keep that in mind.
- ROYAL ICING FOR HOLLY, WREATHS AND CHRISTMAS TREES:
- Using any used gingerbread dough, cut out and shape christmas trees and bake. Using a small star tip (I actually bent mine with a small hammer to get the perfect shape) pipe royal icing all over giver bread and decorate with sugar beads which you'll then need to tediously paint.
Your Own Notes
Nutrition
Recommended Recipes Just For You
None found

Steven is a chef by heritage, so it’s no wonder why baking is such a big part of who he is. To share his passion for all things sweet, he created cookiesncrepes.com. It’s the perfect platform to indulge in delicious treats, all with a sprinkle of his signature flare.